What fun!
Cody had 7 of his best friends over last week after school
and they all carved pumpkins.
It was a blast, we will definitely be doing it again
next year!
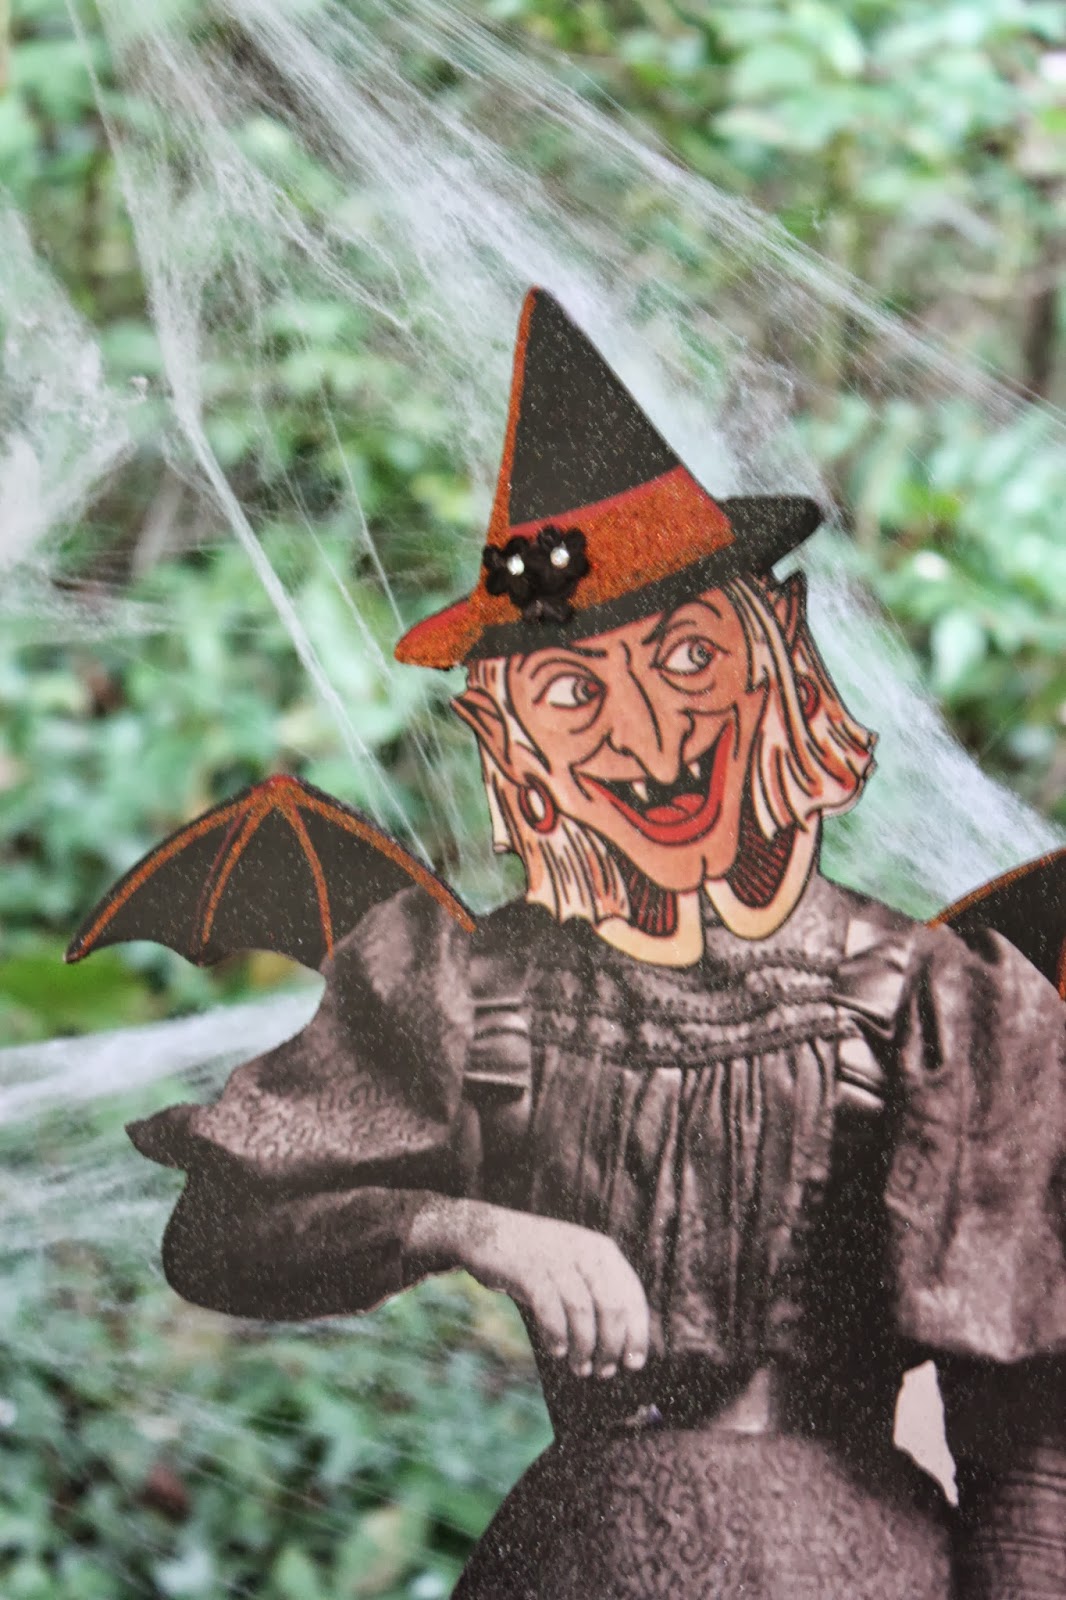
While they were at school I transformed a area in our back
yard into a spooky Halloween area.
The invitations went out a couple weeks before:
I put together little Halloween buckets for each of the kids, using mostly items from the dollar
spot at Target.
And here is way too many pictures of the decor:
The striped straws, orange, white, and black tissue paper balls, and felt banner all came from Target.
The glitter skull candle holders, the large crow, and the pumpkin garland came from Pottery Barn and Pottery barn kids.
The bone pieces and rats came from the Dollar Tree, as well as the labels on the orange pop.
The candy corn cake tutorial can be found here.
Ready to see all the kids in action?
That last photo is what happens when you ask the kids to all line up with their
pumpkins for a photo. Ha!
Besides the candy corn cake, I served peach and apple cobbler, hot apple cider, cinnamon applesauce and plenty of orange soda.
And, for the adults.....
With all of those seeds left over, I made these.
I hope this inspires you to throw your own pumpkin carving party!
This would be a really fun "adults only" costume party too!
Tweaked a bit of course!
xoxo
Showing posts with label candy corn cake. Show all posts
Monday, October 21, 2013
Wednesday, October 16, 2013
~how to make a candy corn colored cake~
This is one of the easiest things I've ever made.
If you have been reading a while, it's just a different take on
this cake I made.
There is nothing home made about this.
All it is, is 3 boxes of white cake mix and 3 tubs of white frosting.
Did you gain 10 pounds just reading that?
Sorry.
Anyway, just whip up 3 batches of cake mixes separately. One you
will leave white, the others you will color with food coloring,
orange and yellow.
Bake according to the directions.
After you have made all 3, let them cool completely.
Then, because the tops like to bake a little rounded, you need to gently cut the tops
off each one so they are fairly level.
Place your orange cake on a cake plate and lightly frost the top.
Add the yellow cake and lightly frost that. Add the white cake to the top.
You are now ready to frost the whole cake. I didn't get a picture of me frosting the cake. I assume
you all know how to frost a cake?
When it's done and you cut into it, you get to see all the pretty layers!
Enjoy your festive cake!
xoxo
Subscribe to:
Comments (Atom)


