What fun!
Cody had 7 of his best friends over last week after school
and they all carved pumpkins.
It was a blast, we will definitely be doing it again
next year!
While they were at school I transformed a area in our back
yard into a spooky Halloween area.
The invitations went out a couple weeks before:I put together little Halloween buckets for each of the kids, using mostly items from the dollar
spot at Target.And here is way too many pictures of the decor:The striped straws, orange, white, and black tissue paper balls, and felt banner all came from Target.
The glitter skull candle holders, the large crow, and the pumpkin garland came from Pottery Barn and Pottery barn kids.
The bone pieces and rats came from the Dollar Tree, as well as the labels on the orange pop.
The candy corn cake tutorial can be found here. Ready to see all the kids in action?That last photo is what happens when you ask the kids to all line up with their
pumpkins for a photo. Ha!Besides the candy corn cake, I served peach and apple cobbler, hot apple cider, cinnamon applesauce and plenty of orange soda.
And, for the adults.....With all of those seeds left over, I made these.
I hope this inspires you to throw your own pumpkin carving party!
This would be a really fun "adults only" costume party too!
Tweaked a bit of course!
xoxo
This DIY is so easy, trust me, anyone can do this!
Here is how you can make this sign:You will need a piece of wood. I found a large grey weathered piece at a salvage shop this weekend
in the free pile. You will also need letter stickers. I get mine at places like Office Max or Staples.
Clean off your piece of wood so it is free of dust and debris.
Next, pick a saying you want. In this case I chose
PUMPKIN CARVING.
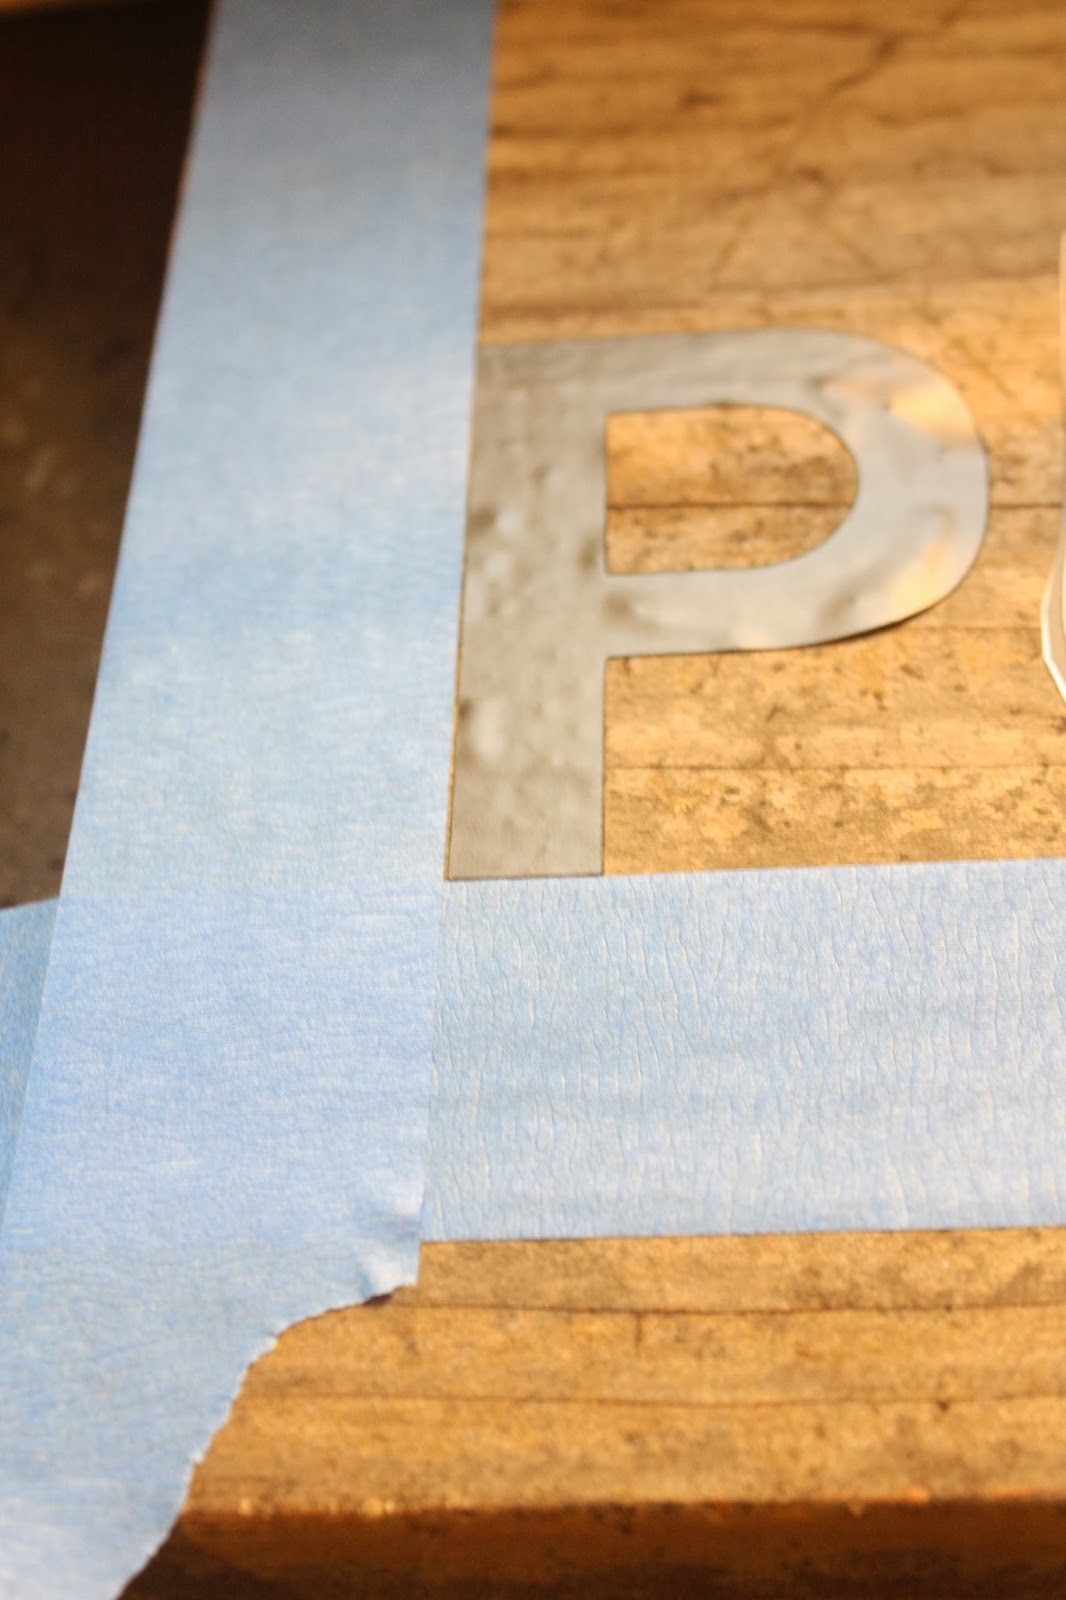
Cut out each letter from the sheets of stickers and position on your wood, but don't stick
them down yet. Right now you are just trying to figure out overall spacing.
It's helpful to use blue painters tape to ensure your letters end up in an even line.After you have figured out the approximate spacing, you can stick your letters to the piece of wood. As you
can see in the photo, I added a piece of blue tape too either end to get an equal distance.Press down on the letters to make sure they are sticking really well. Then using a small roller and
any paint leftover from other projects, paint a light coat over the entire piece.
Let dry.When it's dry, peel off the letters. You will probably have a little paint bleed, but perfection is not the look
we are going for here. Use some sandpaper to rough it up, dust it off, then hang it up or put it on a shelf.And just for fun, here's a few more dining room pictures:I just got the slate blue jug from Joss and Main.
The wine barrel server was another DIY, and the instructions can be found here.
Today is also the LAST DAY to save 15% off at Bombay Company on ANYTHING, even clearance merchandise! Enter code SAVANNAH 15 at checkout!
xoxo