This DIY is so easy, trust me, anyone can do this!
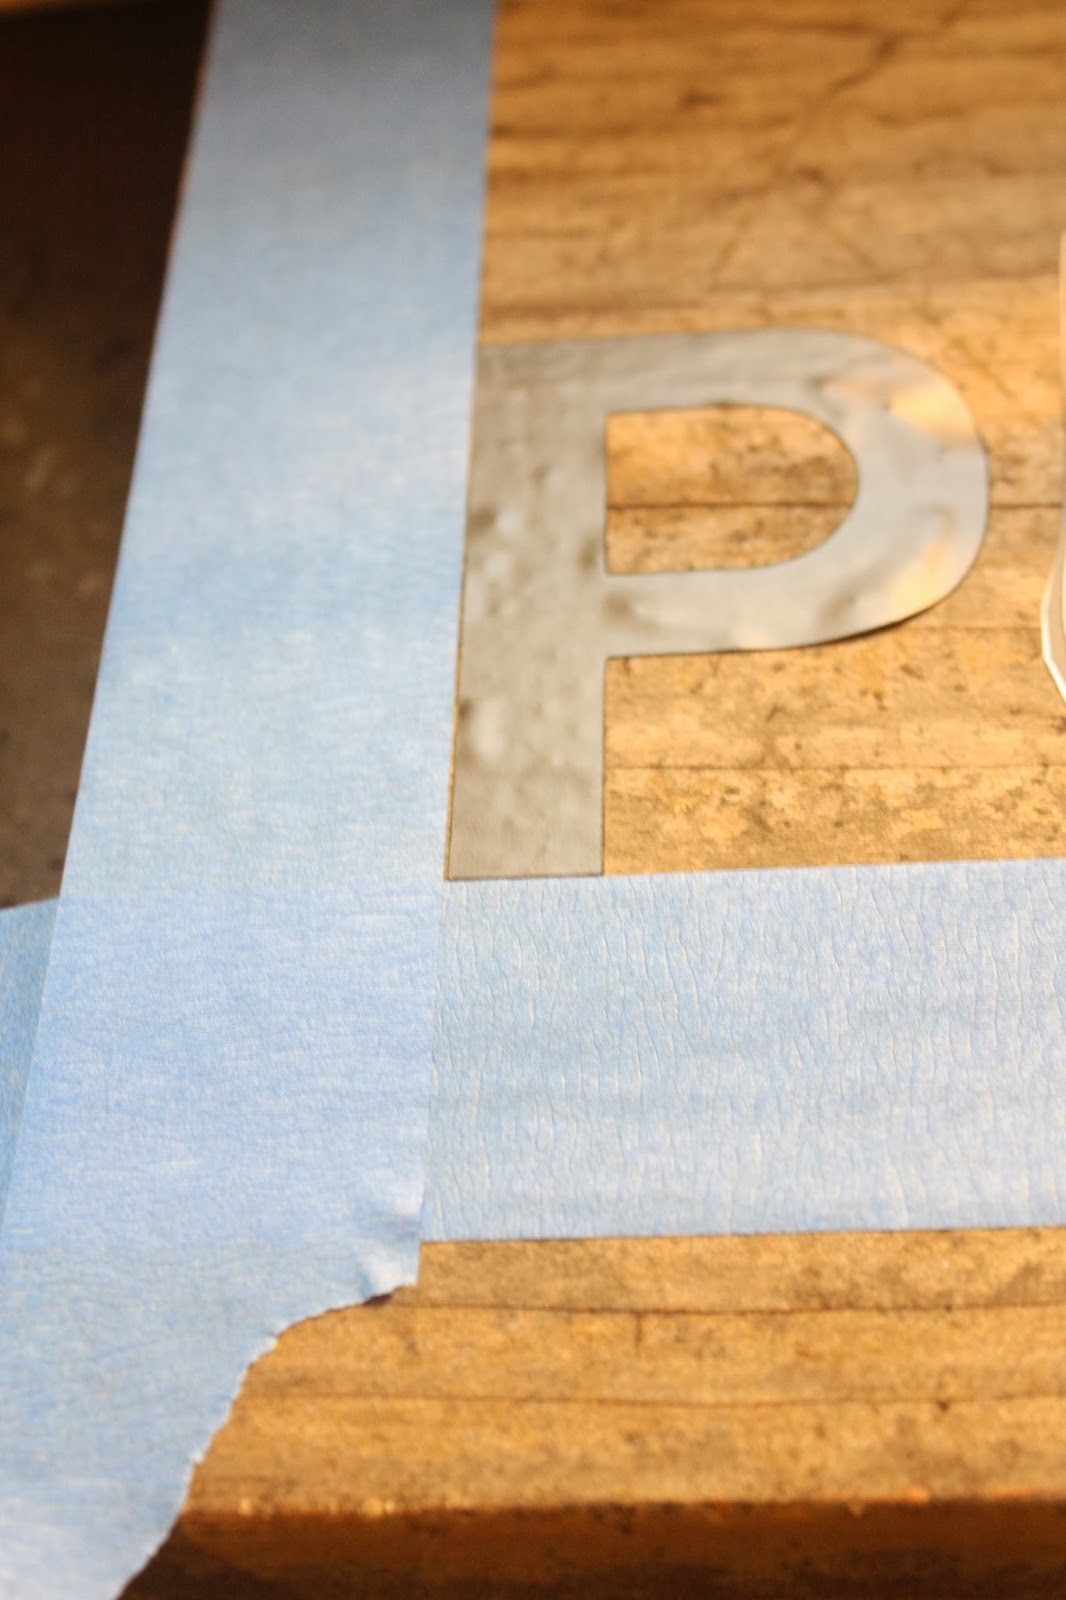
Here is how you can make this sign:You will need a piece of wood. I found a large grey weathered piece at a salvage shop this weekend
in the free pile. You will also need letter stickers. I get mine at places like Office Max or Staples.
Clean off your piece of wood so it is free of dust and debris.
Next, pick a saying you want. In this case I chose
PUMPKIN CARVING.
Cut out each letter from the sheets of stickers and position on your wood, but don't stick
them down yet. Right now you are just trying to figure out overall spacing.
It's helpful to use blue painters tape to ensure your letters end up in an even line.After you have figured out the approximate spacing, you can stick your letters to the piece of wood. As you
can see in the photo, I added a piece of blue tape too either end to get an equal distance.Press down on the letters to make sure they are sticking really well. Then using a small roller and
any paint leftover from other projects, paint a light coat over the entire piece.
Let dry.When it's dry, peel off the letters. You will probably have a little paint bleed, but perfection is not the look
we are going for here. Use some sandpaper to rough it up, dust it off, then hang it up or put it on a shelf.And just for fun, here's a few more dining room pictures:I just got the slate blue jug from Joss and Main.
The wine barrel server was another DIY, and the instructions can be found here.
Today is also the LAST DAY to save 15% off at Bombay Company on ANYTHING, even clearance merchandise! Enter code SAVANNAH 15 at checkout!
xoxo
I am doing my thrifty Thursday post today because tomorrow I will be showing you
our house all decorated for fall as part of the finding fall home tours!
So today I will show you how to make a trumeau mirror, step by step.
You will need a few things. A cheap floor length mirror. You know those
ones you see at Target and Walmart for around $10.00, usually with a plastic frame?
You will also need a piece of plywood and various pieces of wood, but I will get to that.
You will also need some sort of "swag" or decorative appliqué.
Lay your mirror on a piece of plywood. Determine how big you want your overall piece to be, then cut the plywood using a skill saw. I
think I cut mine about 20' bigger on the sides {10" on each side} and I left around 4" on the bottom and about 20" on the top. You can
totally play with these numbers to make it the size you'd like.
Then you will need some "swag" or an appliqué. I got this giant swag at a garage sale for $10.00. My piece is rather large so I found a piece of wood that was tall enough to accommodate it.
{a 1 x 12 piece of pine}
Position it on the plywood, but don't nail anything down yet.
This is the fun part. I have stacks of old wood in my studio.
Bits and pieces, all different sizes, colors, and shapes. Just start playing with different widths etc. The wood can be all
different kinds because eventually you will be painting it all. The wood can be old or new, it doesn't matter.
I found some 1/4 round and cut it on 45 degree angles around my 1x12 piece.
Next I started working on the sides. I used 1x4 pieces of mixed woods, cutting the corners on 45 degree angles as well.
Once I had everything laid out and cut to correct lengths, I attached everything with a nail gun. You can nail right through the plastic frame on the mirror. Center your mirror {or wherever you want it to be} and nail that on first. Then work around that with your final pieces. Just be sure to have everything right where you want it before nailing it on.
After you have nailed everything on, you can choose to spackle in some of the holes.
Once the spackle is dry, sand lightly, and sand any rough wood edges as well. Vacuum or dust off any loose dirt or sawdust, then tape off the mirror.
Next, pick out your paint colors. Chooses a couple colors so that you get that layered look.I chose duck egg blue for the first layer, then coco.
First I painted a coat of the duck egg blue. {LOVE Annie Sloan chalk paint}
Then it got dark out and I stopped taking pictures. BUT, when the blue was dry, I painted on a coat of Coco.
When that dried, I painted a little Annie Sloan Old White on certain pieces of trim, just to make them stand out a bit.
And, the last step is to distress it. Sand the edges and sand down certain spots of the coco to reveal the base color. Finally, I covered the whole piece in Annie Sloan clear wax, then hit the high spots and the edges with the dark wax. Sorry no photos, I was literally doing this step at 10 pm by dim light!
And, by the time I brought it inside to photograph it, it was really dark, so pls. excuse these poor quality photos. It really does look better in person! It is huge, about 6' tall and about 3' wide.
Don't forget to check out the homes on the Finding Fall tours today! We have: The Shabby Creek Cottage, Four Generations One Roof, The Old Painted Cottage and The Graphics Fairy.
Enjoy, and pls. come back tomorrow for our own home tour!
xoxo
Candice Olson, one of the premier interior designers in North America, and has mastered the art of creating elegant and sophisticated wallpaper that brings traditional wall décor into the 21st century.
She has successfully managed to bottle up many inspirations she has acquired over the past two decades (she currently hosts two shows Divine Design and Candice Tells All) and transmit them to her very own fine wallcoverings line.
All of her six collections have something unique about them, from glass beads to woven textures to opulent hand painted designs.
Wallpaper Update, an online retailer of the Candice Olson wallcoverings, has asked me to pick out some of my favorite patterns from her six books.
You can see more images and read more about it right here.
Hope you enjoy!
Duo Blue and Brown Medallion Toile from Shimmering Details
(DE8865)Modern Gray and Blue Petals from Inspired Elegance
(ND7073) Diva Blue & Green Harlequin from Inspired Elegance
(ND7087)Lattice Dark and Light Grey from Dimensional Surfaces
(CX1227)Tasara Gold, Silver & Brown Paisley from Inspired Elegance
(ND7079)Black & White Dotted Paisley from Fine Wallpapers
(CO2027DE)Aren't those great? I think wallpaper is making a big comeback.
If Candice Olson has her name behind it, you know it's gotta be good!
And, this is day 2 of the Finding Fall home tours! Weren't yesterday's homes fabulous? Today you can see these gorgeous homes: Hooked On Houses, Thistlewood Farms, and Jones Design Company.
I saw Emily's home in person last week, and let me tell you, you are in for a treat!
To see the full list of participants, go here.
xoxo