Showing posts with label SIGN. Show all posts

Monday, June 29, 2015

~apple of my eye sign & pattern~

Today I am going to show you how to make this cute sign!


First off you need a piece of MDF {medium density fiberboard}
These come in large sheets for around $7.00, I got mine at Home Depot.
Cut it down to 15" x 24"

For the frame you will need 1x2's. I chose cedar, again, purchased at Home Depot.
You need to cut these at a 45 degree angle.
They should be skinny side up when sitting on your saw.
Cut them to fit the outside edge of your MDF.


Once your pieces are cut, sand any rough edges off.
Then stain your frame pieces. 
I used weathered gray wood stain by Varathane.
Again, I purchased this at Home Depot.
I applied it with a paper towel, wiped it on, and wiped it right back off.


Next you will need to paint 2 coats of satin or eggshell paint onto your MDF.
I used Swiss Coffee Behr.


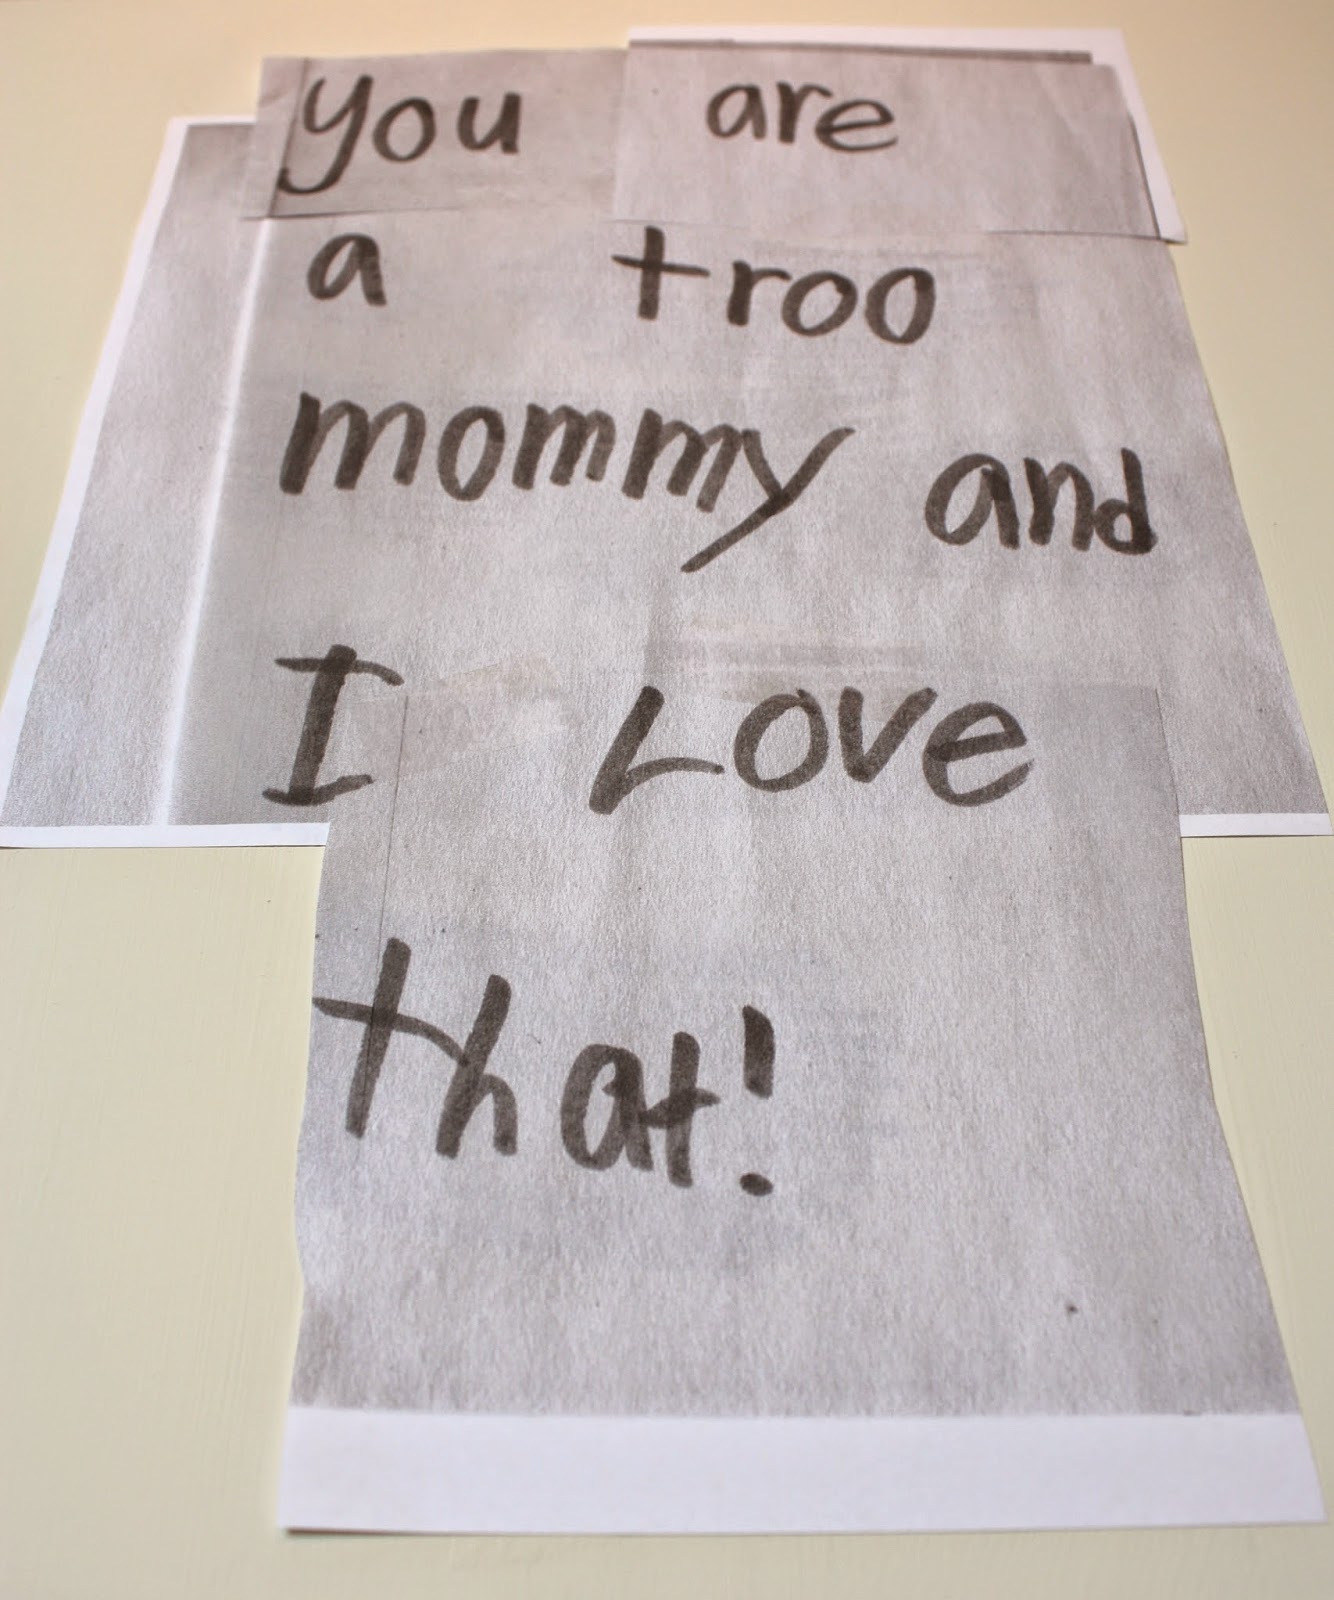
While all that is drying you can print out your pattern.
This is the pattern below. 
Enlarge it at a copy center, or on your home printer if you have a scanner.
You can always piece it together if it won't print all on one page.
Then use this technique to transfer the pattern on to your painted MDF.
Paint in the wording and the apple, let dry, then sand lightly for a distressed look.
I finished mine off with a coat of clear wax, but this is optional.


Now it's time to put your frame together. 
Line up the edges and use a nail gun to attach together. You can always use wood glue and clamps if you don't have a nail gun.
The four little pieces in the corners and just scraps used to hold it all together.


Then if you measured everything correctly you should just be able to pop in your sign and again, nail in place, or use wood glue on those supporting pieces.


~happy crafting~
xoxo

Monday, June 15, 2015

~a vintage sign reproduction 2 ways~

I have always loved this vintage sign:


A few years ago I made this one for our front porch, and have since sold it.


I kept going back to that original sign really wanting it again, so over the weekend I made another one.
This time  I used an old window frame and the same raspberry color that are in my pillows.
Yes, I took the flag down.
I love it, but when I brought back the pink pillows it clashed.
The beauty of it is, when I tire of this one, I can switch the pillows out again and put the flag back up!


So which look do you like better, the pink with the lake view sign or the flag with the more neutral pillows?


xoxo


Wednesday, May 13, 2015

~quote sign diy~

Today I am going to show you how to make these super cute signs.
You can pick any quote you like, something that means something to you.

Start out with 1x4 pieces of pine. 
I cut mine to 30" long each.


Paint the sides, the front, and the back with white paint. I like nothing shinier than satin.


While the paint is drying,  type up your quote on a word document.
I used the font Times New Roman and the size is 100.
Print out.


I like to use a paper cutter to cut each section out.


Flip the papers over and scribble with a pencil over the backside of the lettering.


When the paint is dry, use a tape measure to place the lettering on each piece of wood.
My quote took 3 pieces of wood.
Tape down to secure after you make sure it is all straight.


While the paper is taped down, use a ballpoint pen to trace the outline of each letter.
Remove the paper and the pencil will have transferred onto the wood like below.


The wording is so small on this so I used the skinniest paintbrush I could find.
If you don't have a steady hand, try using a paint pen, or even a sharpie.


When the black paint was dry I gently sanded down the edges and wiped clean.
I used sawtooth hangers on the back and hung them up in the kitchen!
If you follow me on instagram you can see the others I made for my daughters room.


Super easy! They cost around $3.00 each to make, give or take.
Happy painting!
xoxo

Friday, February 6, 2015

~how to paint a sign if you don't have a steady hand~

This is by far the easiest way to create a custom sign without having to use a skinny paintbrush, and you are allowed to have coffee while you do this project! No steady hands required!

Here is how I made this sign.


I started off with a $16 shadow box from Target.
I love the color of it and thought it would be perfect for this.
This is the exact one I used.

When you get the shadow box home, take it apart so you are just left with the frame.
Using the glass as a guide, cut a piece of mdf the same size.


The secret to the perfect lettering in this sign is these little re positionable letters from the office supply store. If you've been reading my blog a long time, you know that I use these letters for EVERYTHING.


Paint the piece of mdf {medium density fiberboard} black.
 If you want your wording to be a different color, use that color instead of black.
Let dry completely before moving on.


Decide what you want your sign to say.
I made 2, one says "our nest" and the other "home"
Before you start sticking them down you will want to lay them out and make sure the letters will fit on the piece of wood.


I measured and drew on some guidelines with a ruler and pencil just to make sure everything was centered before I put the stickers down.
Once your stickers are in place press down firmly to make sure there are no air bubbles.


Then put on 2 coats {letting each coat dry in between}
of cream colored paint on in thin layers.
Go right over the letters.


After the 2 coats are completely dry, use a sharp knife or razor blade to carefully peel off the stickers.
Pop it back into the shadow box frame and you are done.


These are so easy to make that you could make a whole stack of signs with different wording and just pop them in and out of the frame for different occasions!

xoxo


Thursday, January 15, 2015

~thrifty Thursday~{heart sign}

I saw this sign recently and thought it was so cute,
 so I tried to recreate it in my own way, for way less money.

I started with some pieces of wood that I already had put together.
You could use pallet wood for this easily though.
In fact it was from this project, which I took apart.
You could say I repurposed a repurposed item!


To make the heart pattern, I taped several pieces of paper together and then folded it in half, and cut.


Using a pencil, trace around the edge of your heart pattern and discard.


Next up you will need to paint your heart.
I used a light grey chalk paint.
Let dry.
Obviously I was to impatient and took a photo of it while it was still wet.


Using 1 1/2" blue painters tape, tape off straight sections over the heart, evenly spaced.


Paint those areas with a cream colored paint, or the color of your choice.


Let dry and then remove tape.


This is the part where you can get really creative.
Using a pencil, hand draw on a quote, a poem, a saying, lyrics to a song, etc.
Don't worry about your penmanship, the more handwritten looking, the better!


Using a thin paint brush, go over the pencil with black paint.


When it is all dry, you can lightly sand over the whole heart to distress it a bit.


Because I had everything on hand, this project didn't cost me a dime.
I love FREE projects, don't you?


Have a great day!
xoxo

Tuesday, November 11, 2014

~Merry Christmas sign~{DIY}

A few of you have asked for a tutorial on my Merry Christmas sign I made for

I had an old sign that I painted over with cream paint.
Here is the before.


I have a sort of obsession for typography, so whenever I am at thrift stores and see letters or numbers, I snag them up.
Even if they aren't the right finish, it's perfect for this sort of project.


After the paint was dry I just started gluing on the letters to spell out Merry Christmas.
A couple of the letters I didn't have, so I used some blocks of wood to paint the letter on.


And that's it.
Let it dry and hang.
 I love the look of the different lettering.


xoxo

Tuesday, August 26, 2014

~make a sign from a memorable kids letter~

My kids are getting older.
They are almost 12 and 16.
But over the years I have saved thousands of pieces of artwork, little letters, and I've written down funny little things they have said.

I went through Savannah's box up in the attic with her the other day and we were laughing at all the funny little things she said when she was little. 

I decided I would like to showcase one of her little letters to me by painting it on a sign.
You can do this with not only kids letters, but love letters, or letters that loved ones who have passed on had written to you.
It's a great way to showcase these special mementos.

I cannot wait to find one of Cody's sweet pieces and create art with it too.


Start with your letter.


Enlarge it to fit the size of wood you are painting on.
{I used a 16" x 16" piece of  MDF}
I enlarged it on my home printer so I had to piece it together.


Flip it over and scribble pencil all over the back side of the lettering.


Position it on your painted piece of MDF and tape down in place.
{I used Annie Sloan Old White}


I got Savannah to trace over the outline of the letters.
It was strange seeing her 15 year old hands tracing over her 7 year old handwriting. 


Once you have traced everything, remove and recycle the paper.
You will be left with the outline where the pencil has transferred.


Fill in the lettering with black craft paint and a small skinny artist brush.


When dry, distress the whole piece with sandpaper, and then go over it with clear wax.
{I use Annie Sloan wax, but you can use any clear minwax from the home improvement store}


Now you need to make a frame.

My MDF was 16" x 16" so I cut 4 pieces of 1x2's at 16" 
{inside measurement}
on 45 degree angles, and nailed together with a nail gun 
supported by pieces of 1x2's in each corner.
If you don't have a nail gun you can use wood glue and clamp it together until it is dry.
Use a few finish nails to ensure stability.


I wiped on a little gray stain and let that dry.


Now all you have to do is pop in the wood to the frame and display!


I hope I have inspired you to dig through those boxes and create some memorable art for your home!
xoxo