Showing posts with label tutorial. Show all posts

Tuesday, July 7, 2015

~restoration hardware ish looking book covers~

Head on over to your nearest thrift store and pick up the biggest, fattest, hardcover book you can find, because we are making one of these:


You will need a box cutter or knife, drop cloth material, a iron, and mode podge.
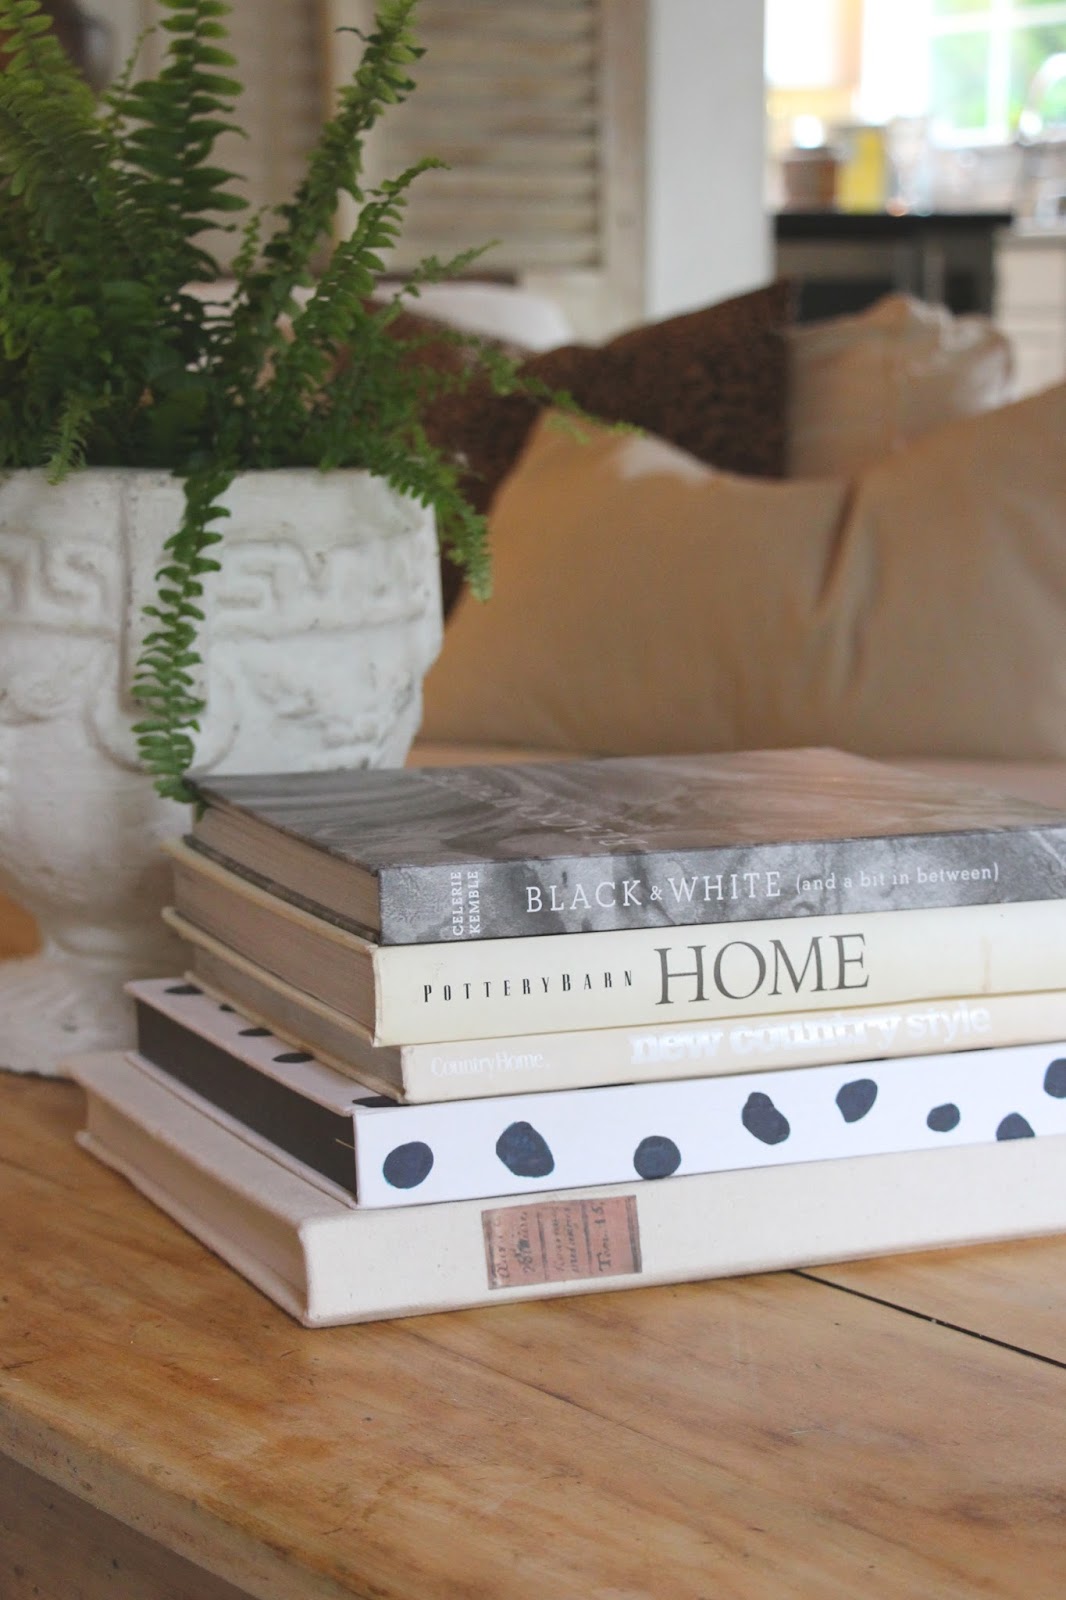

This was the biggest book I could find.
I believe you could also modify this project and re purpose a Restoration Hardware catalog too….


The first thing I did was to remove the pages from the cover and back.
Lay that face up, open, on a piece of drop cloth and cut around it, making the corners at angles.
At this point you can iron your fabric to make sure it has no wrinkles.


Using modge podge, start by folding over one flap on the side and hold down for a minute, smoothing out any wrinkles.


Once the ends are done, you can work on the top and bottom.
It really doesn't need to look pretty because these are really just for decoration.


Once all 4 sides are glued down, put modge podge on the binding and the back and front page, and put in place.
Close the book and smooth out any wrinkles again, let dry.


I took it one step further and printed out a vintage book label and put that on with hot glue.


xoxo

Monday, June 29, 2015

~apple of my eye sign & pattern~

Today I am going to show you how to make this cute sign!


First off you need a piece of MDF {medium density fiberboard}
These come in large sheets for around $7.00, I got mine at Home Depot.
Cut it down to 15" x 24"

For the frame you will need 1x2's. I chose cedar, again, purchased at Home Depot.
You need to cut these at a 45 degree angle.
They should be skinny side up when sitting on your saw.
Cut them to fit the outside edge of your MDF.


Once your pieces are cut, sand any rough edges off.
Then stain your frame pieces. 
I used weathered gray wood stain by Varathane.
Again, I purchased this at Home Depot.
I applied it with a paper towel, wiped it on, and wiped it right back off.


Next you will need to paint 2 coats of satin or eggshell paint onto your MDF.
I used Swiss Coffee Behr.


While all that is drying you can print out your pattern.
This is the pattern below. 
Enlarge it at a copy center, or on your home printer if you have a scanner.
You can always piece it together if it won't print all on one page.
Then use this technique to transfer the pattern on to your painted MDF.
Paint in the wording and the apple, let dry, then sand lightly for a distressed look.
I finished mine off with a coat of clear wax, but this is optional.


Now it's time to put your frame together. 
Line up the edges and use a nail gun to attach together. You can always use wood glue and clamps if you don't have a nail gun.
The four little pieces in the corners and just scraps used to hold it all together.


Then if you measured everything correctly you should just be able to pop in your sign and again, nail in place, or use wood glue on those supporting pieces.


~happy crafting~
xoxo

Wednesday, June 17, 2015

~oversized book page art~

I've been thinking I'd like to make one of these huge book page art pieces so I have been searching the web for some ideas. Originally I thought I would hand paint a piece, but looking at different ideas.

I like this one from Whimsy Girl Design.
I love the grouping of 4.


Up close:


This one is great:


I love the idea of making seasonal signs:


And this might just be my favorite!


xoxo


Thursday, March 19, 2015

~giant paper rose tutorial~

Spring is almost here, and that means it's time for flowers.
Even if the flowers aren't blooming in your neck of the woods, you can make your own with this tutorial. We actually made these with my son's 6th grade class for a art project, so if 6th graders can make them, you can too!

We followed these instructions, but we used handmade paper. It had a easier texture to work with.
I love how they turned out and I hope you do too!


xoxo

Monday, March 2, 2015

~faux zinc dresser tutorial~

I was going through some of my top posts and this one came up.
I thought I'd share it again in case some of you didn't see it.
You can read the full post here.


xoxo

Thursday, January 15, 2015

~thrifty Thursday~{heart sign}

I saw this sign recently and thought it was so cute,
 so I tried to recreate it in my own way, for way less money.

I started with some pieces of wood that I already had put together.
You could use pallet wood for this easily though.
In fact it was from this project, which I took apart.
You could say I repurposed a repurposed item!


To make the heart pattern, I taped several pieces of paper together and then folded it in half, and cut.


Using a pencil, trace around the edge of your heart pattern and discard.


Next up you will need to paint your heart.
I used a light grey chalk paint.
Let dry.
Obviously I was to impatient and took a photo of it while it was still wet.


Using 1 1/2" blue painters tape, tape off straight sections over the heart, evenly spaced.


Paint those areas with a cream colored paint, or the color of your choice.


Let dry and then remove tape.


This is the part where you can get really creative.
Using a pencil, hand draw on a quote, a poem, a saying, lyrics to a song, etc.
Don't worry about your penmanship, the more handwritten looking, the better!


Using a thin paint brush, go over the pencil with black paint.


When it is all dry, you can lightly sand over the whole heart to distress it a bit.


Because I had everything on hand, this project didn't cost me a dime.
I love FREE projects, don't you?


Have a great day!
xoxo
Friday, November 21, 2014

~oh deer, it's a holiday thrift shop challenge~

Alice from Thoughts From Alice asked if I'd like to participate in a challenge making over a holiday item from the thrift store. Since thrift store is my middle name, 
I didn't hesitate to say yes.

I found these 4 matching deer ornaments at my local thrift shop for $3.99.


I thought they were pretty cute as is, but decided to dress them up a bit. 
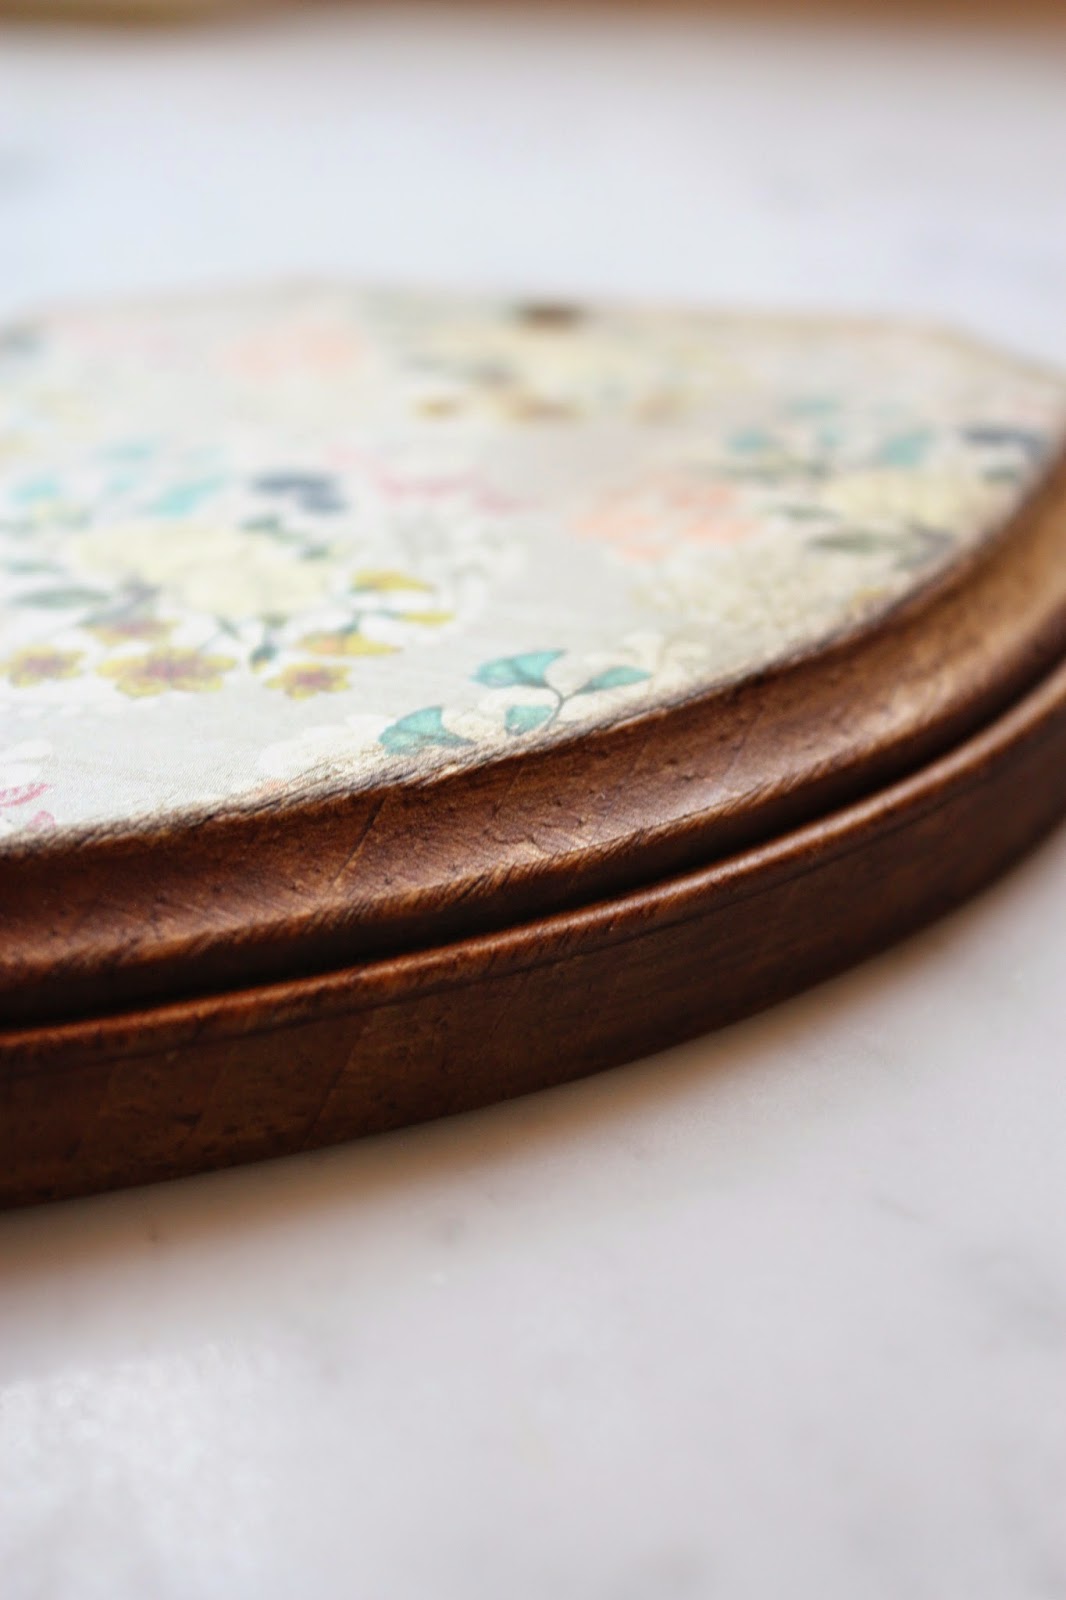
I bought 4 of these unfinished wooden shield plaques from Joanne Fabrics, along with some vintage looking floral scrapbooking papers.


The first step was to cut the paper to fit the tops of the plaques. I did this by flipping the plaques over and tracing around them with pencil onto the paper and cutting out. 
Modge podge them onto the plaques.


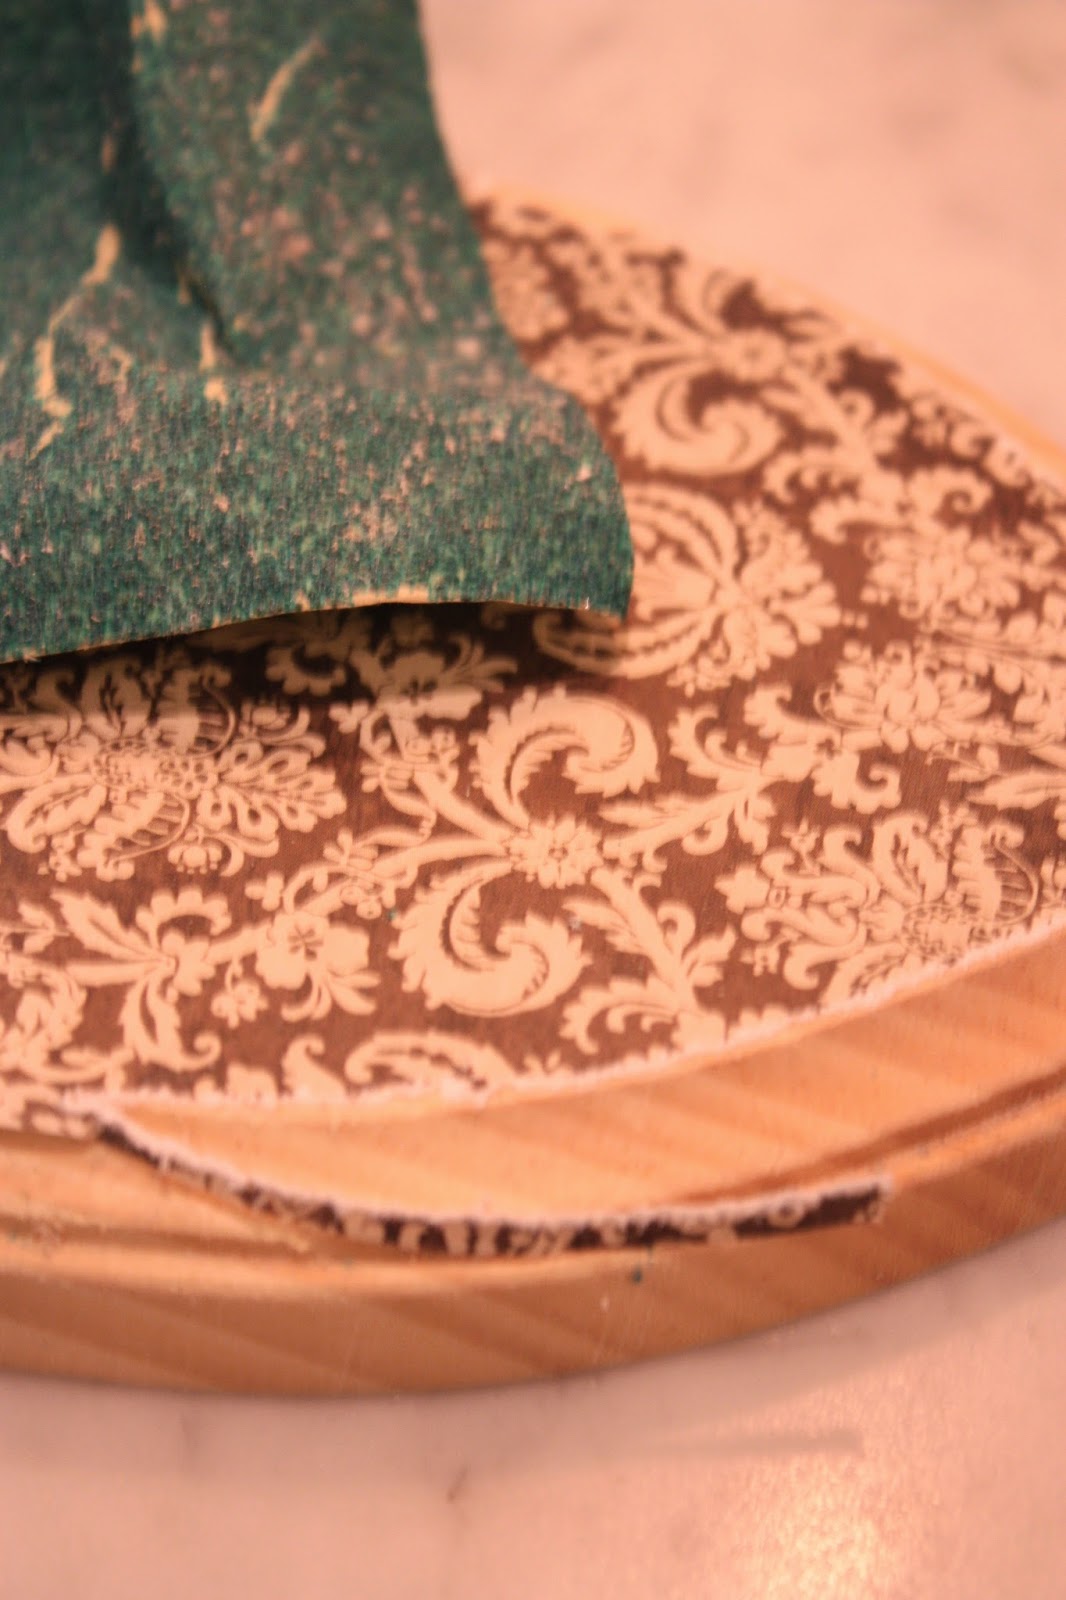
Any excess paper can be sanded off. 
This step also helps create a worn vintage look.


Drill holes through the tops of each one so you can hang them as ornaments on your tree.


They should look like this at this point.


The next step is to age them. I used Annie Sloan dark wax and a rag, but you can also use stain.
Go over the outside edges and smudge it onto the paper a bit as well.
Let dry.


Before and after the dark wax.


Use ribbon, or twine to tie a bow.
I used liquid nails to attach the deer to the center of each plaque and let them dry overnight.


I love how they turned out.
I wish there was more than four!


I hung them on my tree in our dining room.


This tree is new to me this year too.
It's a narrow frosted frazier fir from Balsam Hill.
I've always wanted a frosted tree and this one looks so real!

Don't forget to check out everyone else's thrift shop makeovers:


Glam Christmas Throw Pillows by Thoughts from Alice


A Deerly Beloved Thrift Store Vignette by Have a Daily Cup of Mrs. Olson


Christmas Cloche by Craftberry Bush

A Vintage Mantel for Winter by Finding Silver Pennies


DIY Holiday Walling Hanging by House of Hipsters


Christmas Decor from Thrifty Find by Town and Country Living

The Trellis Tree by Cozy Little House


DIY Centerpiece Tray by Cherished Bliss


Rustic Christmas Tree by Delineate Your Dwelling


DIY Crocks by So Much Better With Age


xoxo