Showing posts with label blog hop. Show all posts

Friday, November 21, 2014

~oh deer, it's a holiday thrift shop challenge~

Alice from Thoughts From Alice asked if I'd like to participate in a challenge making over a holiday item from the thrift store. Since thrift store is my middle name, 
I didn't hesitate to say yes.

I found these 4 matching deer ornaments at my local thrift shop for $3.99.


I thought they were pretty cute as is, but decided to dress them up a bit. 
I bought 4 of these unfinished wooden shield plaques from Joanne Fabrics, along with some vintage looking floral scrapbooking papers.


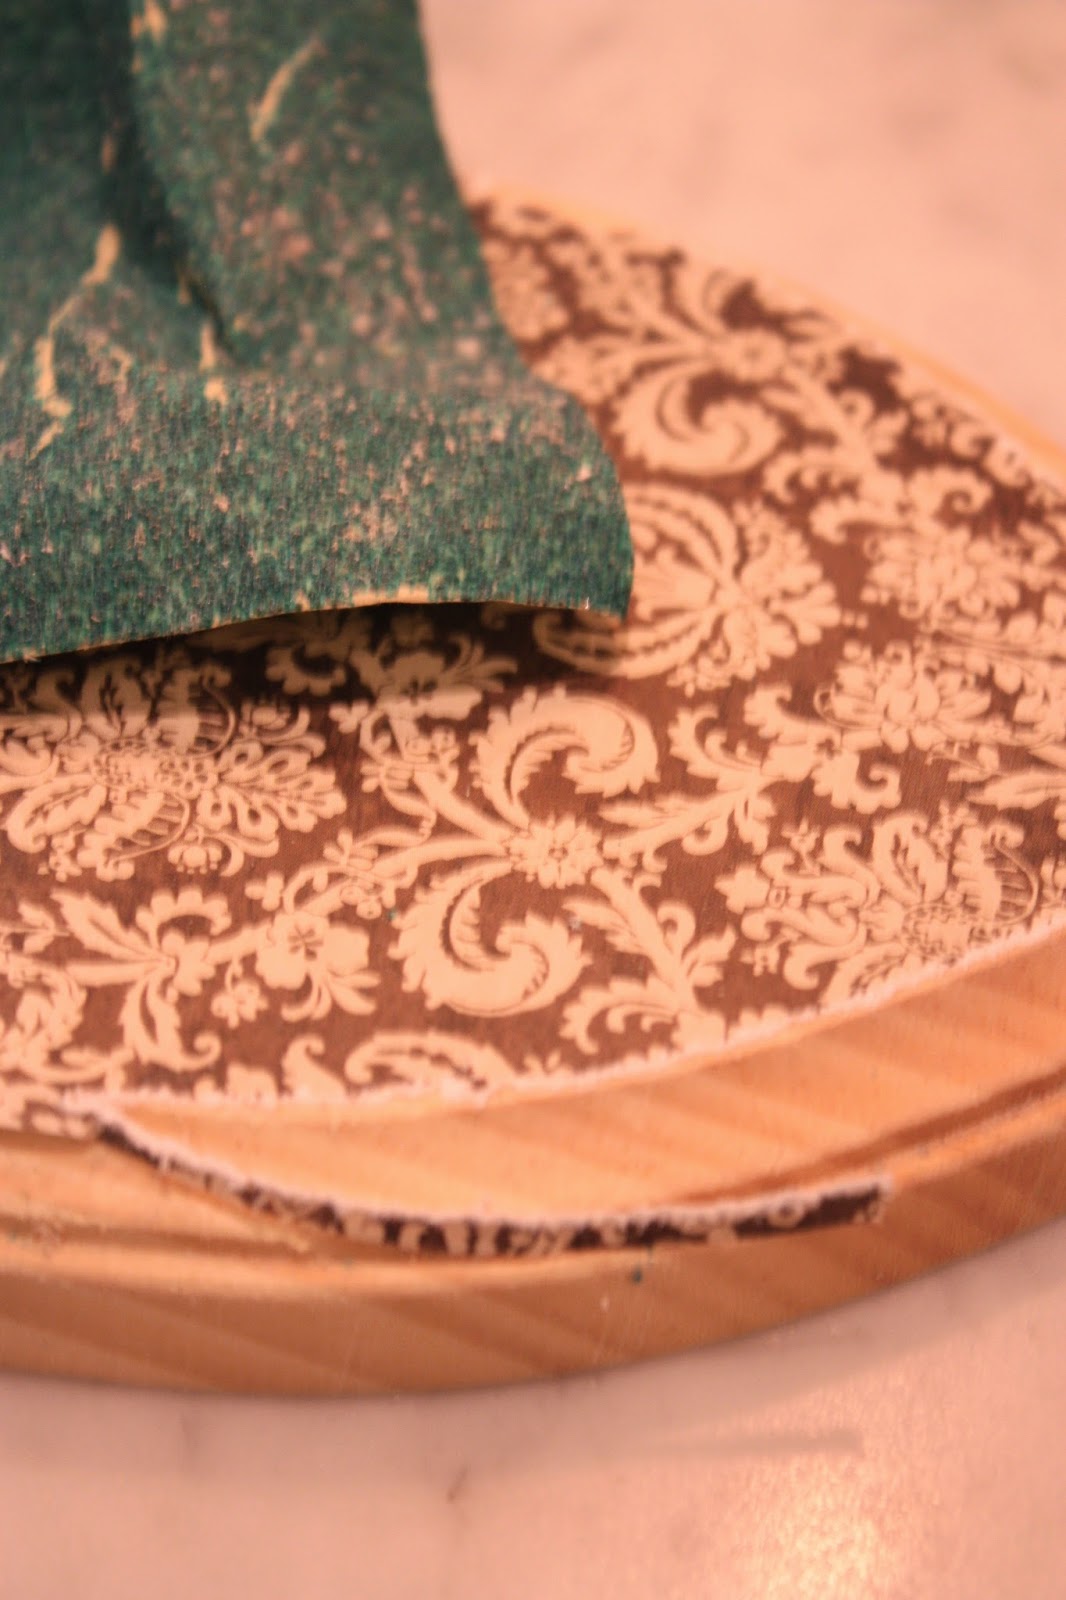
The first step was to cut the paper to fit the tops of the plaques. I did this by flipping the plaques over and tracing around them with pencil onto the paper and cutting out. 
Modge podge them onto the plaques.


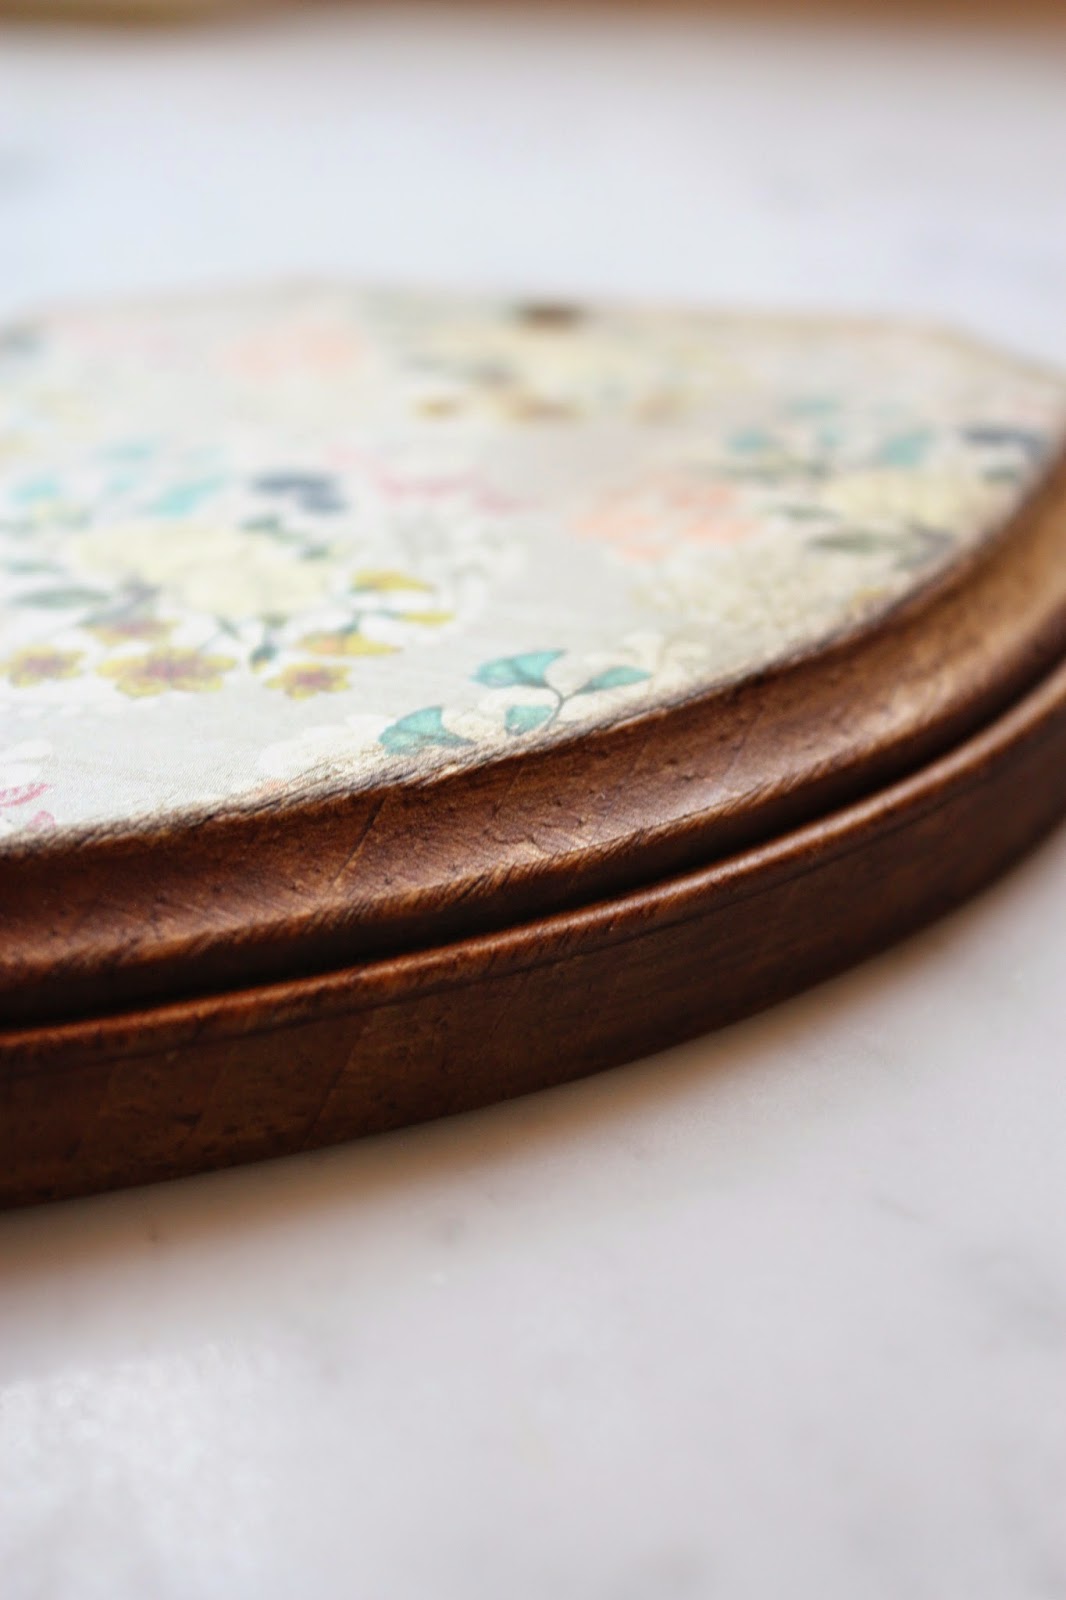
Any excess paper can be sanded off. 
This step also helps create a worn vintage look.


Drill holes through the tops of each one so you can hang them as ornaments on your tree.


They should look like this at this point.


The next step is to age them. I used Annie Sloan dark wax and a rag, but you can also use stain.
Go over the outside edges and smudge it onto the paper a bit as well.
Let dry.


Before and after the dark wax.


Use ribbon, or twine to tie a bow.
I used liquid nails to attach the deer to the center of each plaque and let them dry overnight.


I love how they turned out.
I wish there was more than four!


I hung them on my tree in our dining room.


This tree is new to me this year too.
It's a narrow frosted frazier fir from Balsam Hill.
I've always wanted a frosted tree and this one looks so real!

Don't forget to check out everyone else's thrift shop makeovers:


Glam Christmas Throw Pillows by Thoughts from Alice


A Deerly Beloved Thrift Store Vignette by Have a Daily Cup of Mrs. Olson


Christmas Cloche by Craftberry Bush

A Vintage Mantel for Winter by Finding Silver Pennies


DIY Holiday Walling Hanging by House of Hipsters


Christmas Decor from Thrifty Find by Town and Country Living

The Trellis Tree by Cozy Little House


DIY Centerpiece Tray by Cherished Bliss


Rustic Christmas Tree by Delineate Your Dwelling


DIY Crocks by So Much Better With Age


xoxo


Wednesday, June 18, 2014

~4th of July DIY~{blog hop!}


I am so excited to be hosting my first ever blog hop!
I have picked 7 bloggers, myself included, to share with you 
some fabulous do it yourself ideas for your 4th of July.

I am first up and am going to show you how to make this inexpensive no sew flag banner!


Here is what you will need:

Fabric glue
bias tape {or ribbon} in your choice of color
flags from the dollar store
blue painters tape


You will need to slip off the flags from the plastic poles.
You can toss these as you will not be needing them.


On a long work surface lay out your flags.
Since I did this outside, I weighed mine down with pots so they wouldn't fly away on me.


Next you want to glue the bias tape {or ribbon} to the top of the flags.
The bias tape I used had a double fold, so I had to glue the fold shut as well.
To secure it while it dries, use pieces of painters tape.


The instructions on the glue says to let dry for approx. 4 hours. 
I waited about 7, as mine was still wet after 4.


Once dry you can remove the tape and hang anywhere you like!


This is a super simple project that will make a big impact for your 4th of July decor!


To see what my friend Karianne is up to, head on over to her blog at

xoxo


Tuesday, October 1, 2013

~create a paint by number pumpkin~{& BIG news}

Today I am linking up with some very crafty blogging friends to bring you a
parade of pumpkins! These pumpkin ideas are meant to inspire you to think outside
the box while decorating for Halloween this year, and for years to come.


city farmhousebetween naps on the porch
pumpkin-ideas copy finding-home
sweet-savvanahTHISTLEWOOD FARMS

Check out this cute denim pumpkin here by Between Naps On The Porch.

A word search pumpkin from Karianne at Thistlewood Farm.

Pumpkins made from drop cloths here at City Farmhouse,

and doorknob pumpkins here at Finding Home.

Are you ready to see mine?

I have been dying to do a paint by number project, so I thought, why not try it on a pumpkin?!

I started with this darling picture of my niece Lyla:


You can choose any photo, but the easiest ones are the close up ones of faces, pets, objects, etc.
If you want to start by trying out something easy, a leaf would be a really cool idea. I still may make one of those.

Ok, now go to PicMonkey here.


Click on edit a photo and then select your photo that is saved to your computer.
Once your photo is up, look at the left hand side of the page. The second symbol down is a magic wand
looking thing. Click on that. This will bring up the different effects. Scroll down until you see "posterize."
It has yellow sunflowers in the background. Click on posterize. Once you click on that you will see that your photo turns
magically into what appears to be a paint by number. Here is where you can mess with the number of colors. I think I used about
11 colors in mine. Here is what my photo looked like after I "posterized" it.


Here is a side by side comparison:


Save your finished image to your computer, then print it out adjusting it to the size you need.
{this depends on your pumpkin size}

The first thing you need to do is select a large pumpkin with a fairly flat front surface.
Tape off your stem with painters tape.


Then spray paint your pumpkin white. You can use white primer, or a spray paint
that will cover and stick to any surface.
Once that is dry, you can take off your tape and bring the pumpkin inside.
Draw a large circle with pencil on the front of the pumpkin and paint it a different
color, in my case I chose light blue. You can free hand this, or use a pattern. I traced a salad plate onto
my pumpkin.


While that is drying you are going to need to select your paint colors.
I have misc. craft paints, so I just took the photo I printed out and matched them as close as I could.
Then, just like original paint by number kits, you are going to number your paints: 1, 2, 3, 4, and so on.
I also found it helpful to then, using pencil, write the numbers onto my photo. This made the
painting process all the much easier.


Here you can see where I did just that.


Scribble pencil all over the backside of your photo. See yesterdays post for clarification and that process. Then tape on and trace over it.
Since the pumpkin isn't totally flat, it won't lay on perfectly, but you can get it close.


Once you are all done tracing the design on, take the paper off, but save it so you can refer back to it while painting.
You will be left with pencil marks.


I laid out a garbage bag on my counter and then put 11 plastic lids on top of it.
In each one I put a bit of the paint and with a sharpie wrote the coordinating number next to it.


Pick a number and start painting away!

Here is my finished pumpkin!


And now, if that wasn't enough :)
I have some super exciting news!

I am partnering with Bombay Company to commemorate their one year site re-launch anniversary!

From now through October 8th you can save 15% on your order with the coupon code

SAVANNAH15

on the Bombay site. Discount will be reflected at checkout.
This coupon code is good off EVERYTHING, even sale and clearance!
This is a one time only special and can only be used once.

I am placing my order soon and cannot wait to share pictures of my purchases with you!

I am very honored that Bombay wants to share this with all of you. Please take a moment to see if there is anything
you like while this discount is available. Remember, it's only available until the 8th. Please click here to
take you to their site!

Here's a few of my favorite images from Bombay!


I am so excited it's pumpkin season!!!
Have a great day friends!