Showing posts with label diy. Show all posts

Thursday, July 9, 2015

Tuesday, July 7, 2015

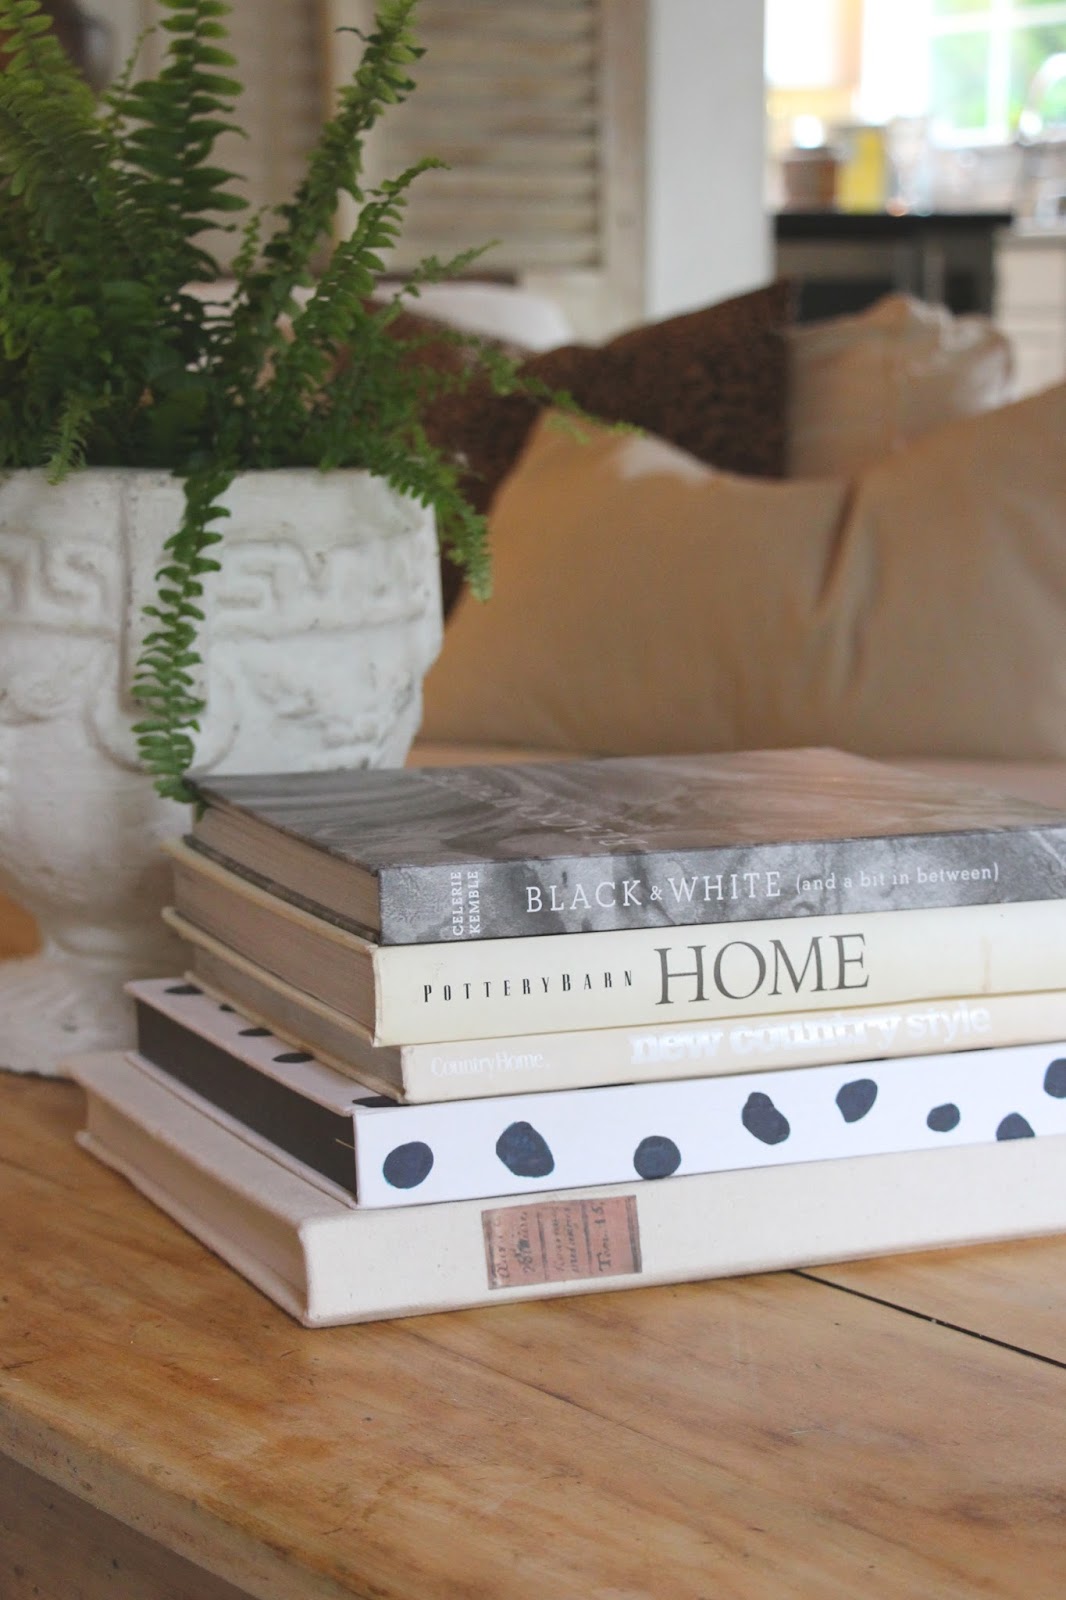
~restoration hardware ish looking book covers~

Head on over to your nearest thrift store and pick up the biggest, fattest, hardcover book you can find, because we are making one of these:


You will need a box cutter or knife, drop cloth material, a iron, and mode podge.


This was the biggest book I could find.
I believe you could also modify this project and re purpose a Restoration Hardware catalog too….


The first thing I did was to remove the pages from the cover and back.
Lay that face up, open, on a piece of drop cloth and cut around it, making the corners at angles.
At this point you can iron your fabric to make sure it has no wrinkles.


Using modge podge, start by folding over one flap on the side and hold down for a minute, smoothing out any wrinkles.


Once the ends are done, you can work on the top and bottom.
It really doesn't need to look pretty because these are really just for decoration.


Once all 4 sides are glued down, put modge podge on the binding and the back and front page, and put in place.
Close the book and smooth out any wrinkles again, let dry.


I took it one step further and printed out a vintage book label and put that on with hot glue.


xoxo

Wednesday, July 1, 2015

~who's ready for a little fireworks DIY?~

Who's ready for the Fourth Of July?
We are getting there.
I am putting some finishing touches on a few things, but it's looking mighty patriotic around here!
Be sure to come back Friday as I have a HUGE reveal of a project we've been working on.
Cannot wait to show you!

Now, who's ready to make some cute little boxes for your fireworks?


I started out with a bunch of wood out of a house being torn down.
If you don't have old wood you could always use new and paint it.
OR, you can buy a pre made box :)
I started with my bottom piece and cut the sides on 45 degree angles to fit around it, 
then nailed in place.


Once I was finished I painted on some wording.
You could use stencils or free hand.
I thought snap crackle & pop would be cute for all the fireworks.


For this one I used empty Starbucks bottles and filled them with sparklers.
Adding the word sparkle seemed fitting.


After I painted on the letters I roughed them up a bit with sandpaper.


Just a reminder to stop back by here Friday for a HUGE reveal!
xoxo

Monday, June 29, 2015

~apple of my eye sign & pattern~

Today I am going to show you how to make this cute sign!


First off you need a piece of MDF {medium density fiberboard}
These come in large sheets for around $7.00, I got mine at Home Depot.
Cut it down to 15" x 24"

For the frame you will need 1x2's. I chose cedar, again, purchased at Home Depot.
You need to cut these at a 45 degree angle.
They should be skinny side up when sitting on your saw.
Cut them to fit the outside edge of your MDF.


Once your pieces are cut, sand any rough edges off.
Then stain your frame pieces. 
I used weathered gray wood stain by Varathane.
Again, I purchased this at Home Depot.
I applied it with a paper towel, wiped it on, and wiped it right back off.


Next you will need to paint 2 coats of satin or eggshell paint onto your MDF.
I used Swiss Coffee Behr.


While all that is drying you can print out your pattern.
This is the pattern below. 
Enlarge it at a copy center, or on your home printer if you have a scanner.
You can always piece it together if it won't print all on one page.
Then use this technique to transfer the pattern on to your painted MDF.
Paint in the wording and the apple, let dry, then sand lightly for a distressed look.
I finished mine off with a coat of clear wax, but this is optional.


Now it's time to put your frame together. 
Line up the edges and use a nail gun to attach together. You can always use wood glue and clamps if you don't have a nail gun.
The four little pieces in the corners and just scraps used to hold it all together.


Then if you measured everything correctly you should just be able to pop in your sign and again, nail in place, or use wood glue on those supporting pieces.


~happy crafting~
xoxo

Friday, June 26, 2015

~tic tac toe diy~{thrifty thursday a day late}

My friends over at The Handmade Home made a  fabulous patriotic tic tac toe board.
So fabulous.
Everything they do is fabulous.
Just. Fabulous.
Anyway, you can check it out here.
They cut each star and circle themselves.
That's really time consuming.
I decided I wanted to make one with less time involved.
So here is my version which I am calling the lazy mans tic tac toe board.


I started out in search of a square wood tray to use but couldn't find one anywhere.
Then I stumbled upon this shadowbox frame at the craft store and voila!
It was on sale as well, so that was a bonus.
The craft store I was at didn't have cutout wooden stars and circles, so I improvised and used these paper mache ones.


For the bottom I used a piece of MDF cut to size.
For the dividers I simply cut up some 1x2 pieces of cedar I had.


I painted everything individually before putting it together.
It was way easier this way.


Once everything was assembled I spackled all the nail holes and edges.


After the spackle was dry I sanded it down, this gave it a distressed look as well.


To finish it off I added additional 1x2's cut on  45 degree angles around the outside edge, and then added a bottom piece using MDF.


I used "antique gold" by Delta Ceramcoat on the stars….


And Behr Oarsman Blue on the circles.
Then I striped them with warm white by Americana.


Play time!


I think this will be a fun summer game to play outdoors, or even in. 
Thank you to The Handmade Home for yet another inspiring idea!

The winner of the Shop Joyworks flag tank top is the writer of the blog,
preparing for two.

xoxo


Friday, June 19, 2015

~dollar store flag banner~

This is a project I did last year, but thought I'd share it again as the Fourth of July is right upon us!
It's an easy no sew project that can be done in a matter of minutes.


Start out with as many flags as you want.
I purchased mine at the dollar store.
They were on sticks which I discarded.
You will also need ribbon or bias tape, and fabric glue.


Find a long flat surface to lay your flags on.
I weighted mine down because I was outside and the wind was blowing that day.


Glue the bias tape or ribbon on and then tape down until dry.


When it's dry you are ready to hang!


What are your plans for the Fourth of July?
xoxo