Friday, July 10, 2015

~Home Depot giveaway~


If you've been reading my blog for a while now, you know that I love using reclaimed wood
 in my projects.
When I was contacted to come up with some creative ways to use large and small crates in a way that helps with back to school organization, I was all over it.
By the way, if you click on that link you will see they are now selling deconstructed reclaimed and new pallet pieces! No more killing yourself trying to pry the pieces off!

I knew right away what I wanted to do with the larger crates.
The first thing I did was to stain them a rich ebony.

Then I stacked them on our small front porch to create a catchall for sports equipment,
 bags, and books.
I don't know about you, but I always feel like there is such a small amount of time after school before it's dinner time and then the kids are heading off to sports practice's.
Having everything in one place and organized is key.
I also like that these are totally portable. I didn't attach them together, they are just stacked one on top of the other. 


I painted the smaller crates Rosemary by Sherwin williams and added some little buckets from Ikea in them. This makes a handy place for markers, pens, and pencils.
How many times do your kids sit down to do homework only to spend too much time trying to find a sharp pencil? 


Now for the fun part!
One of you will win 2 large crates, 2 small crates, and drumroll please…..
a $50.00 Home Depot gift card!

Please read the following to enter:

Comment on this post telling me what you would do with your new crates.

Leave your email address.

You do not need to have a blog to enter.
Anonymous commenters count, just be sure to leave that email address so I can contact you if you win.

I will pick a random winner on Friday July 17th and announce back here on my blog.

Good luck!
xoxo


Wednesday, July 8, 2015

~how to give an old lamp new life~


I really liked the shape of this lamp but wasn't crazy about the finish.


So when I saw this room, and this lamp, I knew exactly what mine needed!


At first I thought I could make the spots with a black sharpie, but the edged blurred, so instead I used black acrylic paint.
I just randomly started painting on spots.
It took way longer than I thought, but I love the finished product.
I watched a couple episodes of fixer upper while I did this, so it wasn't all bad.


For the base I layered on different colors of paint and then sanded it down in some spots, finishing it off with clear and dark wax.


I started by painting it grey, really blobbing it on.
Then cream, 2 coats, then I finished with dry brushing white on it.
After sanding it I applied wax to finish it off and add a bit more age.


I really like the whimsy of it.
I don't know if the kitchen is where it will stay, but for now, it's home is here.

xoxo

Tuesday, July 7, 2015

~restoration hardware ish looking book covers~

Head on over to your nearest thrift store and pick up the biggest, fattest, hardcover book you can find, because we are making one of these:


You will need a box cutter or knife, drop cloth material, a iron, and mode podge.


This was the biggest book I could find.
I believe you could also modify this project and re purpose a Restoration Hardware catalog too….


The first thing I did was to remove the pages from the cover and back.
Lay that face up, open, on a piece of drop cloth and cut around it, making the corners at angles.
At this point you can iron your fabric to make sure it has no wrinkles.


Using modge podge, start by folding over one flap on the side and hold down for a minute, smoothing out any wrinkles.


Once the ends are done, you can work on the top and bottom.
It really doesn't need to look pretty because these are really just for decoration.


Once all 4 sides are glued down, put modge podge on the binding and the back and front page, and put in place.
Close the book and smooth out any wrinkles again, let dry.


I took it one step further and printed out a vintage book label and put that on with hot glue.


xoxo

Monday, July 6, 2015

~outdoor living process~

Thank you so much for all the love on our new outdoor space!
We have definitely been enjoying it.
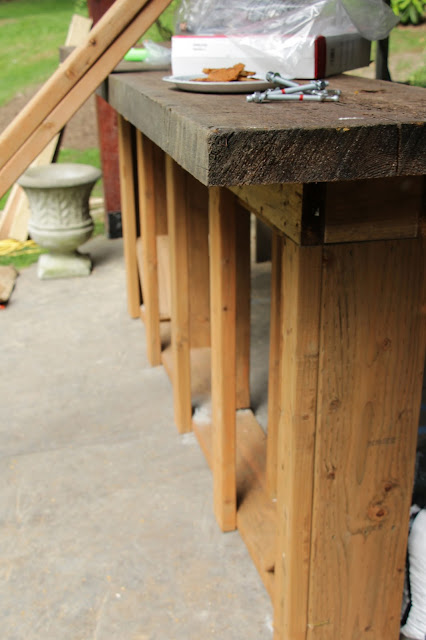
I took a few photos as we were building, these aren't pretty photos but show the process a bit.
The photo below shows the area where the fireplace is:


This is the bar area:


To the right of the fireplace is the area in which the built in grill goes. Right now you can see it resting on top of the refrigerator:


Countertops going in:


Not the prettiest of pictures, and unfortunately they are all I took, but it's just a little
 sneak peek into the process.
I hope you all had a great holiday weekend.

xoxo