Showing posts with label drop cloth. Show all posts

Tuesday, July 7, 2015

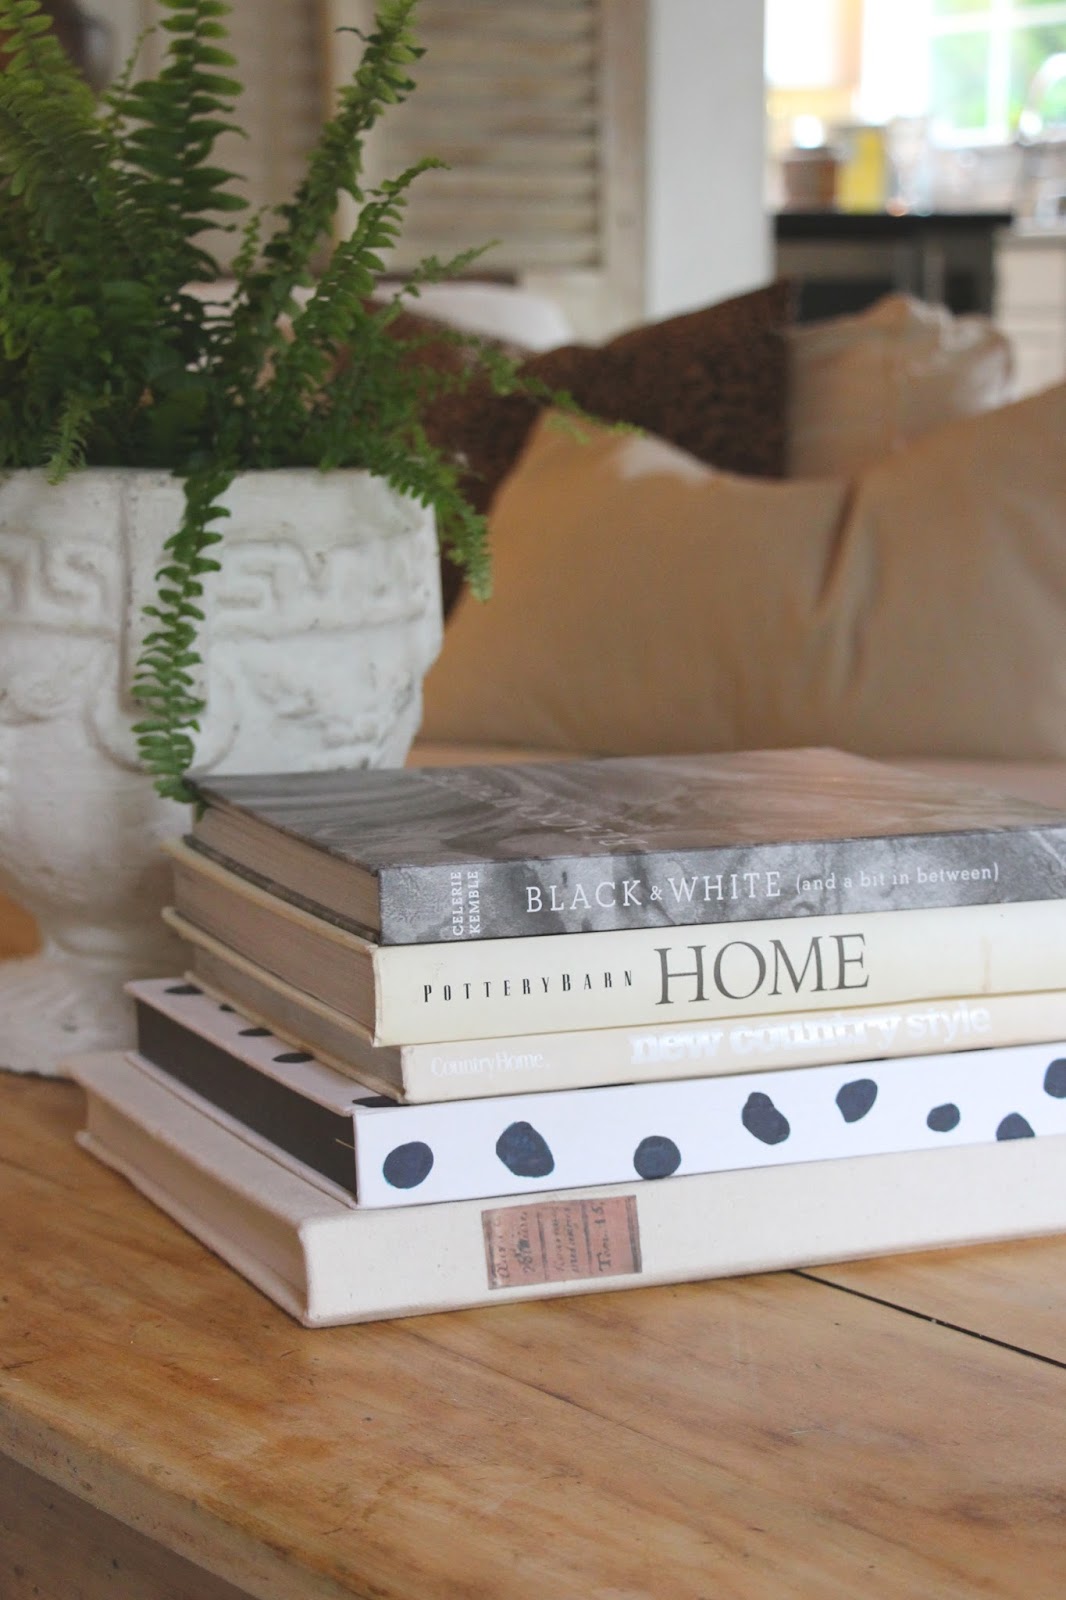
~restoration hardware ish looking book covers~

Head on over to your nearest thrift store and pick up the biggest, fattest, hardcover book you can find, because we are making one of these:


You will need a box cutter or knife, drop cloth material, a iron, and mode podge.

This was the biggest book I could find.
I believe you could also modify this project and re purpose a Restoration Hardware catalog too….


The first thing I did was to remove the pages from the cover and back.
Lay that face up, open, on a piece of drop cloth and cut around it, making the corners at angles.
At this point you can iron your fabric to make sure it has no wrinkles.


Using modge podge, start by folding over one flap on the side and hold down for a minute, smoothing out any wrinkles.


Once the ends are done, you can work on the top and bottom.
It really doesn't need to look pretty because these are really just for decoration.


Once all 4 sides are glued down, put modge podge on the binding and the back and front page, and put in place.
Close the book and smooth out any wrinkles again, let dry.


I took it one step further and printed out a vintage book label and put that on with hot glue.


xoxo

Thursday, September 4, 2014

~$15 DIY faux zebra rug~{thrifty thursday}

If you want a zebra hide rug but don't want to spend $2,000.00, read on.
This version will set you back about $15.00.
You will need:

drop cloth {you an make 2 out of this $30.00 one}
White paint and black paint
and
a pencil.

Let's start with an after picture:


Alright, get out that drop cloth and lay it {folded in 2} on a flat surface.
When you paint it, the paint will seep through so make sure you have a tarp down, or garbage bags taped together like I did.


To get the correct shape I traced my real zebra rug onto the fabric using a pencil.
This is something you could totally eyeball, or if you have a cowhide, that would work too.


Iron the whole thing.


Next,  using a roller, roll on a thick coat of white paint. 
Any white will do.
I had White Dove left over from my kitchen cabinets so I used that.
Wait for it to dry and paint one more coat.


Let dry overnight.


Painting on the stripes might seem intimidating, but it's really quite simple if you have something to reference too.
I would suggest printing out a picture off the Internet of a real zebra hide.
If you don't feel comfortable painting it on freehand, you can always pencil it in first.


I put the black paint on pretty thick as well.
After you are done, let dry for a few hours and then seal it with a polyurethane in a matte finish.
{unless you would like it to be shiny}


That's it!
 Stand back and admire your art and pat yourself on the back because you just saved a little under $2,000.00.


Now, I am off to paint the other one.

xoxo