Showing posts with label Deer. Show all posts

Thursday, December 4, 2014

~thrifty Thursday~

Kitchen towels have come a long way.
Some of them are just too cute to dry your hands on, and that is why I thought of this project.

All you need for this project is a frame, a piece of MDF cut to the same size as your frame opening
{or you can just use the cardboard backing it comes with}
and a kitchen towel.
Some heavy duty tape or a staple gun is also helpful.


I ironed the towel to get all most of the wrinkles out and then using a staple gun attached it to a piece of MDF. If you are using cardboard, you can just duct tape it to the back.


Pop it in your frame
{I didn't use glass}
and you are good to go!


Day 4 of the holiday home tours continues.
 Click here to see today's lineup.
xoxo

Friday, November 21, 2014

~oh deer, it's a holiday thrift shop challenge~

Alice from Thoughts From Alice asked if I'd like to participate in a challenge making over a holiday item from the thrift store. Since thrift store is my middle name, 
I didn't hesitate to say yes.

I found these 4 matching deer ornaments at my local thrift shop for $3.99.


I thought they were pretty cute as is, but decided to dress them up a bit. 
I bought 4 of these unfinished wooden shield plaques from Joanne Fabrics, along with some vintage looking floral scrapbooking papers.


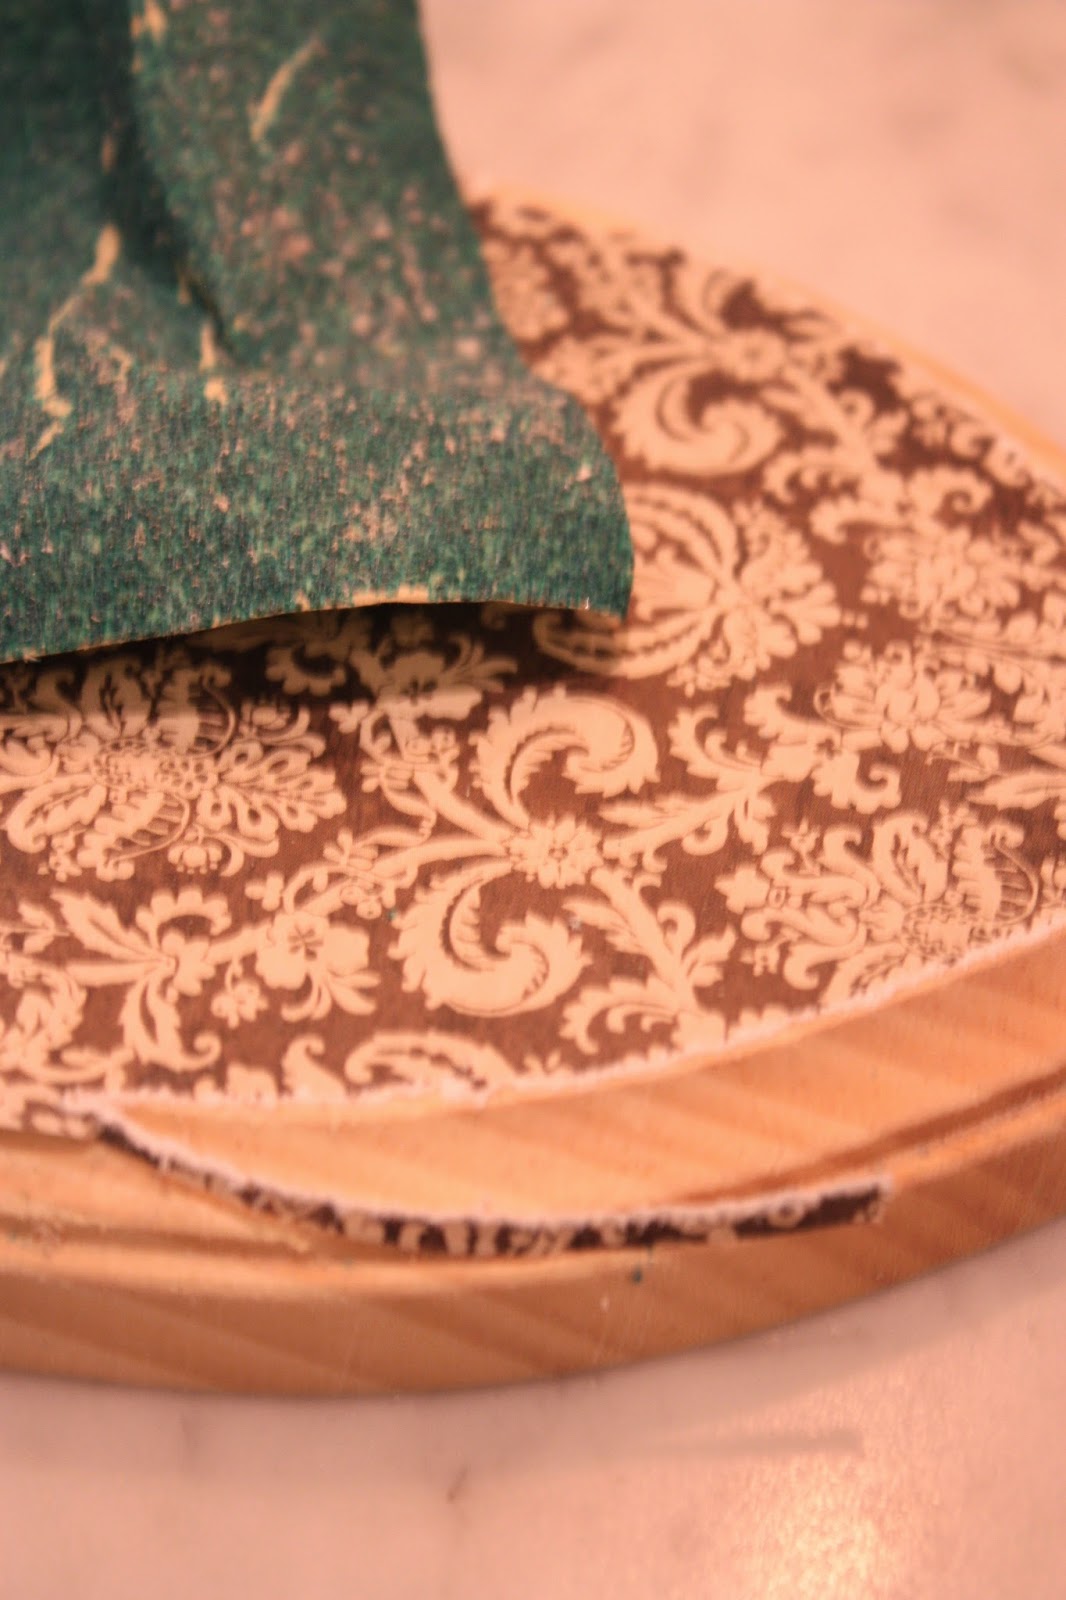
The first step was to cut the paper to fit the tops of the plaques. I did this by flipping the plaques over and tracing around them with pencil onto the paper and cutting out. 
Modge podge them onto the plaques.


Any excess paper can be sanded off. 
This step also helps create a worn vintage look.


Drill holes through the tops of each one so you can hang them as ornaments on your tree.


They should look like this at this point.


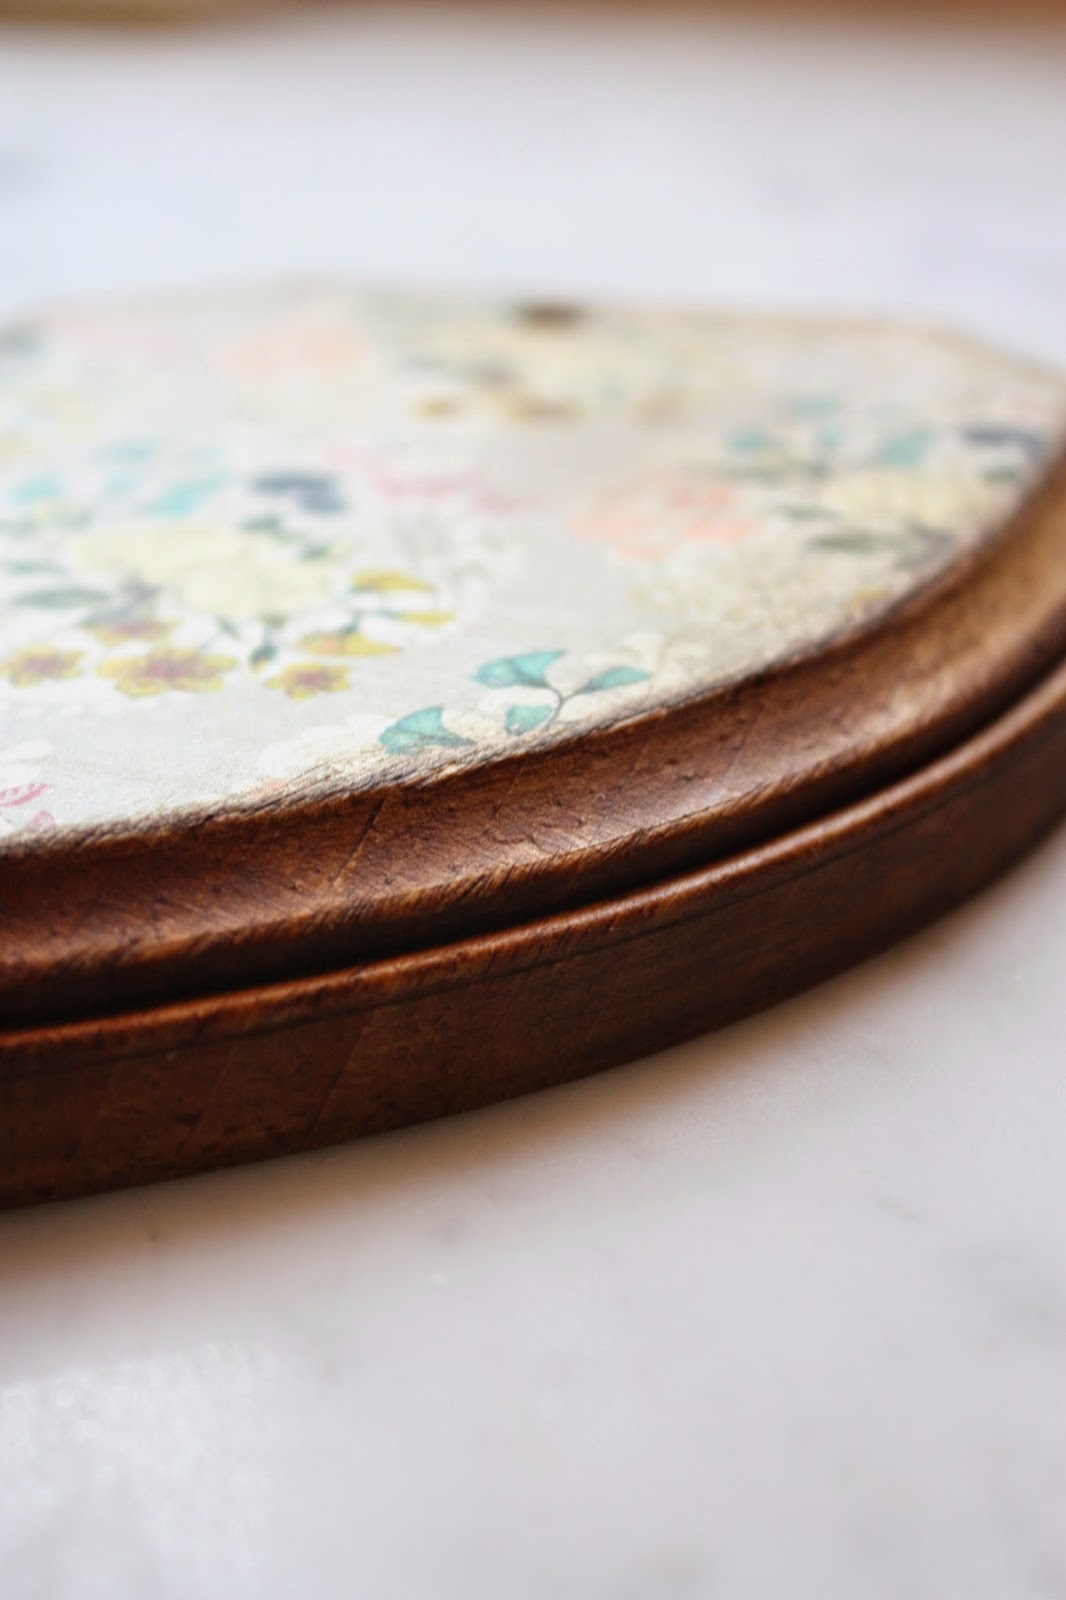
The next step is to age them. I used Annie Sloan dark wax and a rag, but you can also use stain.
Go over the outside edges and smudge it onto the paper a bit as well.
Let dry.


Before and after the dark wax.


Use ribbon, or twine to tie a bow.
I used liquid nails to attach the deer to the center of each plaque and let them dry overnight.


I love how they turned out.
I wish there was more than four!


I hung them on my tree in our dining room.


This tree is new to me this year too.
It's a narrow frosted frazier fir from Balsam Hill.
I've always wanted a frosted tree and this one looks so real!

Don't forget to check out everyone else's thrift shop makeovers:


Glam Christmas Throw Pillows by Thoughts from Alice


A Deerly Beloved Thrift Store Vignette by Have a Daily Cup of Mrs. Olson


Christmas Cloche by Craftberry Bush

A Vintage Mantel for Winter by Finding Silver Pennies


DIY Holiday Walling Hanging by House of Hipsters


Christmas Decor from Thrifty Find by Town and Country Living

The Trellis Tree by Cozy Little House


DIY Centerpiece Tray by Cherished Bliss


Rustic Christmas Tree by Delineate Your Dwelling


DIY Crocks by So Much Better With Age


xoxo


Thursday, October 31, 2013

~thrifty thursday~{& happy halloween}

I hope you all are ready for a night of trick or treating, or trick or treaters!
I know we are!

Todays thrifty Thursday project is a fun one.
Want to see what I started with?


I know right? I was almost embarrassed to buy it.
But I did, and when I got home I ripped everything off of it, and painted it with ASCP in cocoa.


I recently bought some antlers at a antique shop and wanted a piece of wood to mount them too.
This was the perfect shape!
But I couldn't leave it alone just yet.
Did you see the guest bathroom I just posted about with the paint by numbers?
Well, I decided to paint the plaque with a paint by number scene!
I scoured the web and found this darling one of a little house on a lake during the wintertime.


I gathered all my brushes and paints and went to work re-creating the scene on my plaque.
I didn't get it spot on, but I think it works, and definitely ties in with the other paint by numbers in
the bathroom.


The beauty of paint by numbers is that it doesn't have to look perfect.
Any imperfections or brush strokes, or globs of paint just add to the look.
After it was all dry I added the antlers and hung it up!


The only thing that's kinda a bummer is the cute little red house and barn
got covered up quite a bit when I added the antlers.
So, if you do this project, keep that in mind!

Have a wonderful Halloween!

xoxo