Showing posts with label decor. Show all posts

Tuesday, June 16, 2015

~Liz Dougherty Pierce~

I love Liz Dougherty Pierce. 
This is her home from my favorite book


I couldn't find the best quality photos, but I literally love everything about it.
xoxo


Wednesday, January 7, 2015

~blue & white~

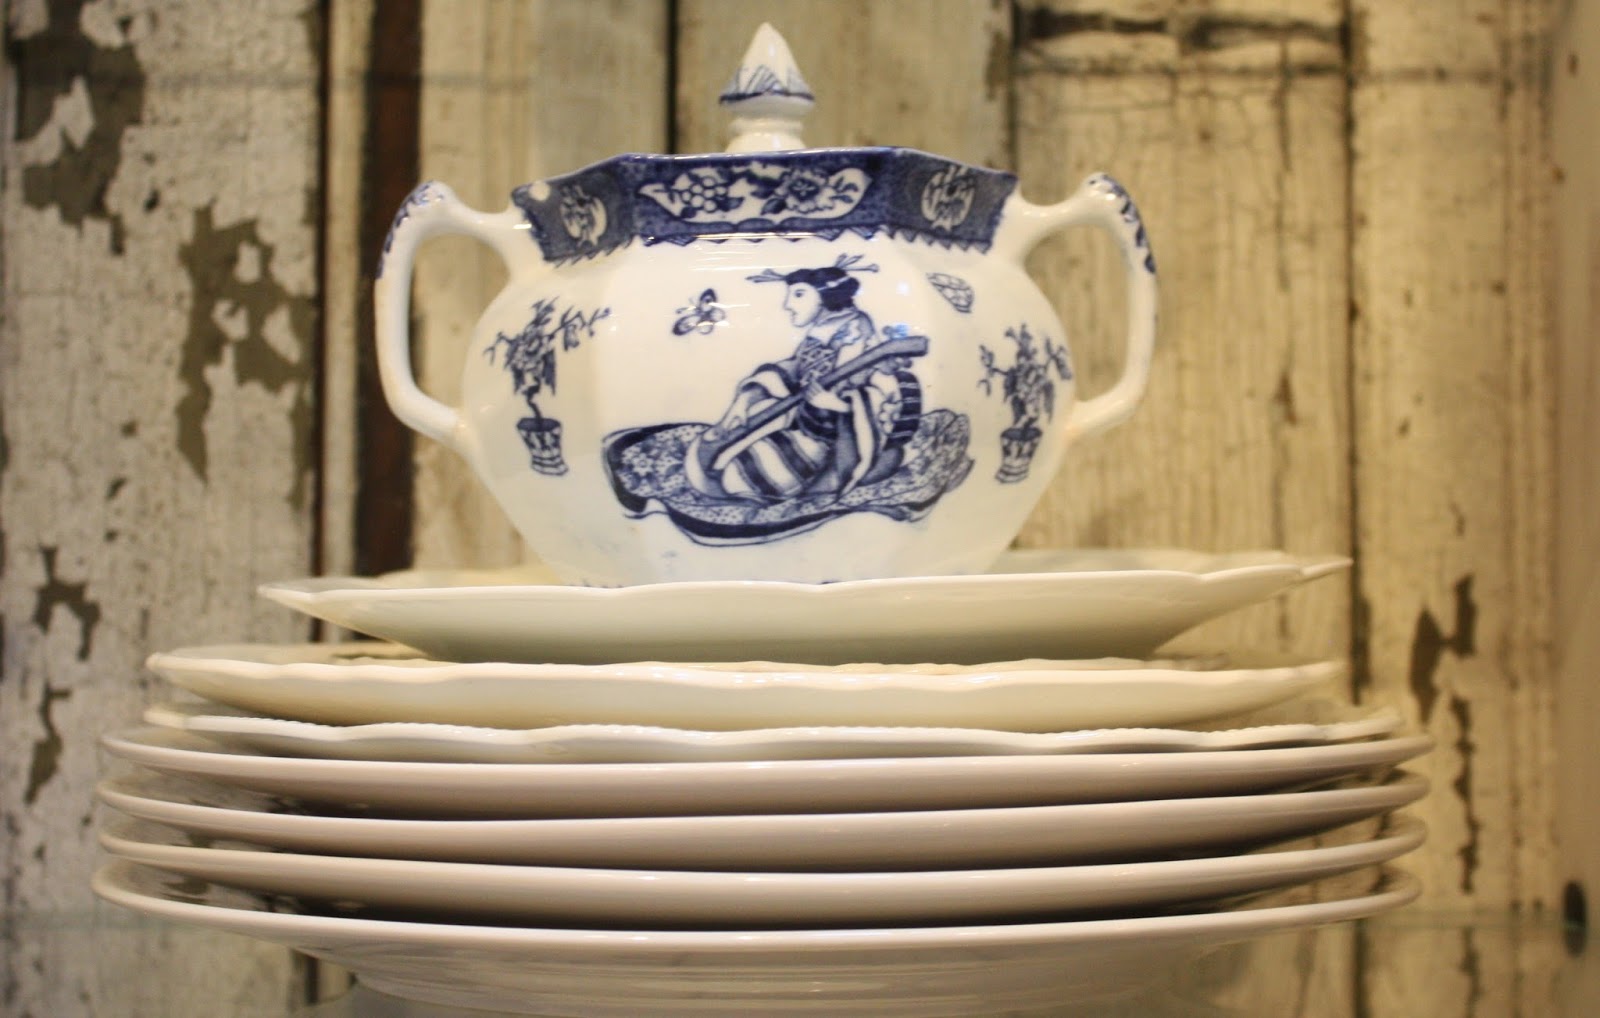
Over the past year or so I have started collecting blue and white pottery.
There is no rhyme or reason to my collection.
90% of them have been found at thrift stores, some gifted to me.

I love the look and think it fits in with so many different styles, and it works well year round.
I went back through my photos and found all of them that included my blue and white.
Hope you enjoy the roundup and seeing how they can work in any season.


 I have 3 of these vases and they are my favorite out of all.
You will see them in many photos.


I also love these little pieces.


Here is that same little bowl holding soap by the kitchen sink.


Red, white, and blue, isn't just for the 4th of July.
Mixed with green, it looks stunning during the Christmas season.


Mixed with mercury glass for a simple centerpiece.


It looks great with all colors of flowers.


This mug is from Anthropologie. 
Not all blue and white has to be vintage.


I tend to lean towards the pieces with the more muted blues.


And dishes, they are easily found at discount stores like Ross and TJ Maxx.


This one is full of chips and cracks, but I still liked it.


Another bowl holds sugar packets by the coffee maker.


This is my latest find.
The roses cost twice as much as the vessel itself!


Have a great day!
xoxo


Wednesday, January 22, 2014

~simplify~

Since we have a new puppy, I have been staying at home all day every day.
Therefore I have been working on several projects to keep myself busy.

{I won't lie though, I've been watching a lot of Lifetime movies}

A couple days ago I looked around at the house and it looked like an unorganized
craft room threw up all over. Clutter everywhere! I was starting to feel claustrophobic.
So yesterday I cleaned, I cleaned like there was no tomorrow.
I scrubbed, I washed, I fluffed, and most importantly, I simplified.
Let me tell you, it's like a breath of fresh air in here.


Now, back to the couch to watch more lifetime movies and snuggle with the puppy.

xoxo

Monday, January 6, 2014

~around the house~

The after Christmas rearranging/cleaning begins…..


Christmas decor has all come down, and it's starting to feel fresh and clean in here. I love working with a clean slate.
The addition of a few indoor flowers has me dreaming of Spring……

xoxo

Wednesday, October 30, 2013

~ghosts of Halloweens past~

In 2010 I decorated our dining room in a neutral color scheme.


In 2012 I showed you how to paint chevron pumpkins:


I made a few spooky signs in this post:


This year I went all out with fall decorating:


It is so strange to see how our living room used to look before my gallery wall!


2010 must have been the year for fall decorating at our house. I created
a simple porch display here.


If you'd like to try your hand at a paint by number pumpkin, directions can be found right here!


Last year I made these black and white pumpkins!


This year I threw a pumpkin carving party for Cody and 7 of his friends.
It was a blast, doing it again next year for sure!


I hope this inspires you a little!

xoxo


Wednesday, September 18, 2013

~how to make a trumeau mirror~

I am doing my thrifty Thursday post today because tomorrow I will be showing you
our house all decorated for fall as part of the finding fall home tours!

So today I will show you how to make a trumeau mirror, step by step.

You will need a few things. A cheap floor length mirror. You know those
ones you see at Target and Walmart for around $10.00, usually with a plastic frame?
You will also need a piece of plywood and various pieces of wood, but I will get to that.
You will also need some sort of "swag" or decorative appliqué.

Lay your mirror on a piece of plywood. Determine how big you want your overall piece to be, then cut the plywood using a skill saw. I
think I cut mine about 20' bigger on the sides {10" on each side} and I left around 4" on the bottom and about 20" on the top. You can
totally play with these numbers to make it the size you'd like.


Then you will need some "swag" or an appliqué. I got this giant swag at a garage sale for $10.00. My piece is rather large so I found a piece of wood that was tall enough to accommodate it.
{a 1 x 12 piece of pine}


Position it on the plywood, but don't nail anything down yet.


This is the fun part. I have stacks of old wood in my studio.
Bits and pieces, all different sizes, colors, and shapes. Just start playing with different widths etc. The wood can be all
different kinds because eventually you will be painting it all. The wood can be old or new, it doesn't matter.

I found some 1/4 round and cut it on 45 degree angles around my 1x12 piece.


Next I started working on the sides. I used 1x4 pieces of mixed woods, cutting the corners on 45 degree angles as well.


Once I had everything laid out and cut to correct lengths, I attached everything with a nail gun. You can nail right through the plastic frame on the mirror. Center your mirror {or wherever you want it to be} and nail that on first. Then work around that with your final pieces. Just be sure to have everything right where you want it before nailing it on.


After you have nailed everything on, you can choose to spackle in some of the holes.


Once the spackle is dry, sand lightly, and sand any rough wood edges as well. Vacuum or dust off any loose dirt or sawdust, then tape off the mirror.


Next, pick out your paint colors. Chooses a couple colors so that you get that layered look.I chose duck egg blue for the first layer, then coco.


First I painted a coat of the duck egg blue. {LOVE Annie Sloan chalk paint}


Then it got dark out and I stopped taking pictures. BUT, when the blue was dry, I painted on a coat of Coco.
When that dried, I painted a little Annie Sloan Old White on certain pieces of trim, just to make them stand out a bit.

And, the last step is to distress it. Sand the edges and sand down certain spots of the coco to reveal the base color. Finally, I covered the whole piece in Annie Sloan clear wax, then hit the high spots and the edges with the dark wax. Sorry no photos, I was literally doing this step at 10 pm by dim light!

And, by the time I brought it inside to photograph it, it was really dark, so pls. excuse these poor quality photos. It really does look better in person! It is huge, about 6' tall and about 3' wide.


Don't forget to check out the homes on the Finding Fall tours today! We have: The Shabby Creek Cottage, Four Generations One Roof, The Old Painted Cottage and The Graphics Fairy.

Enjoy, and pls. come back tomorrow for our own home tour!

xoxo