Showing posts with label French. Show all posts

Tuesday, June 16, 2015

~Liz Dougherty Pierce~

I love Liz Dougherty Pierce. 
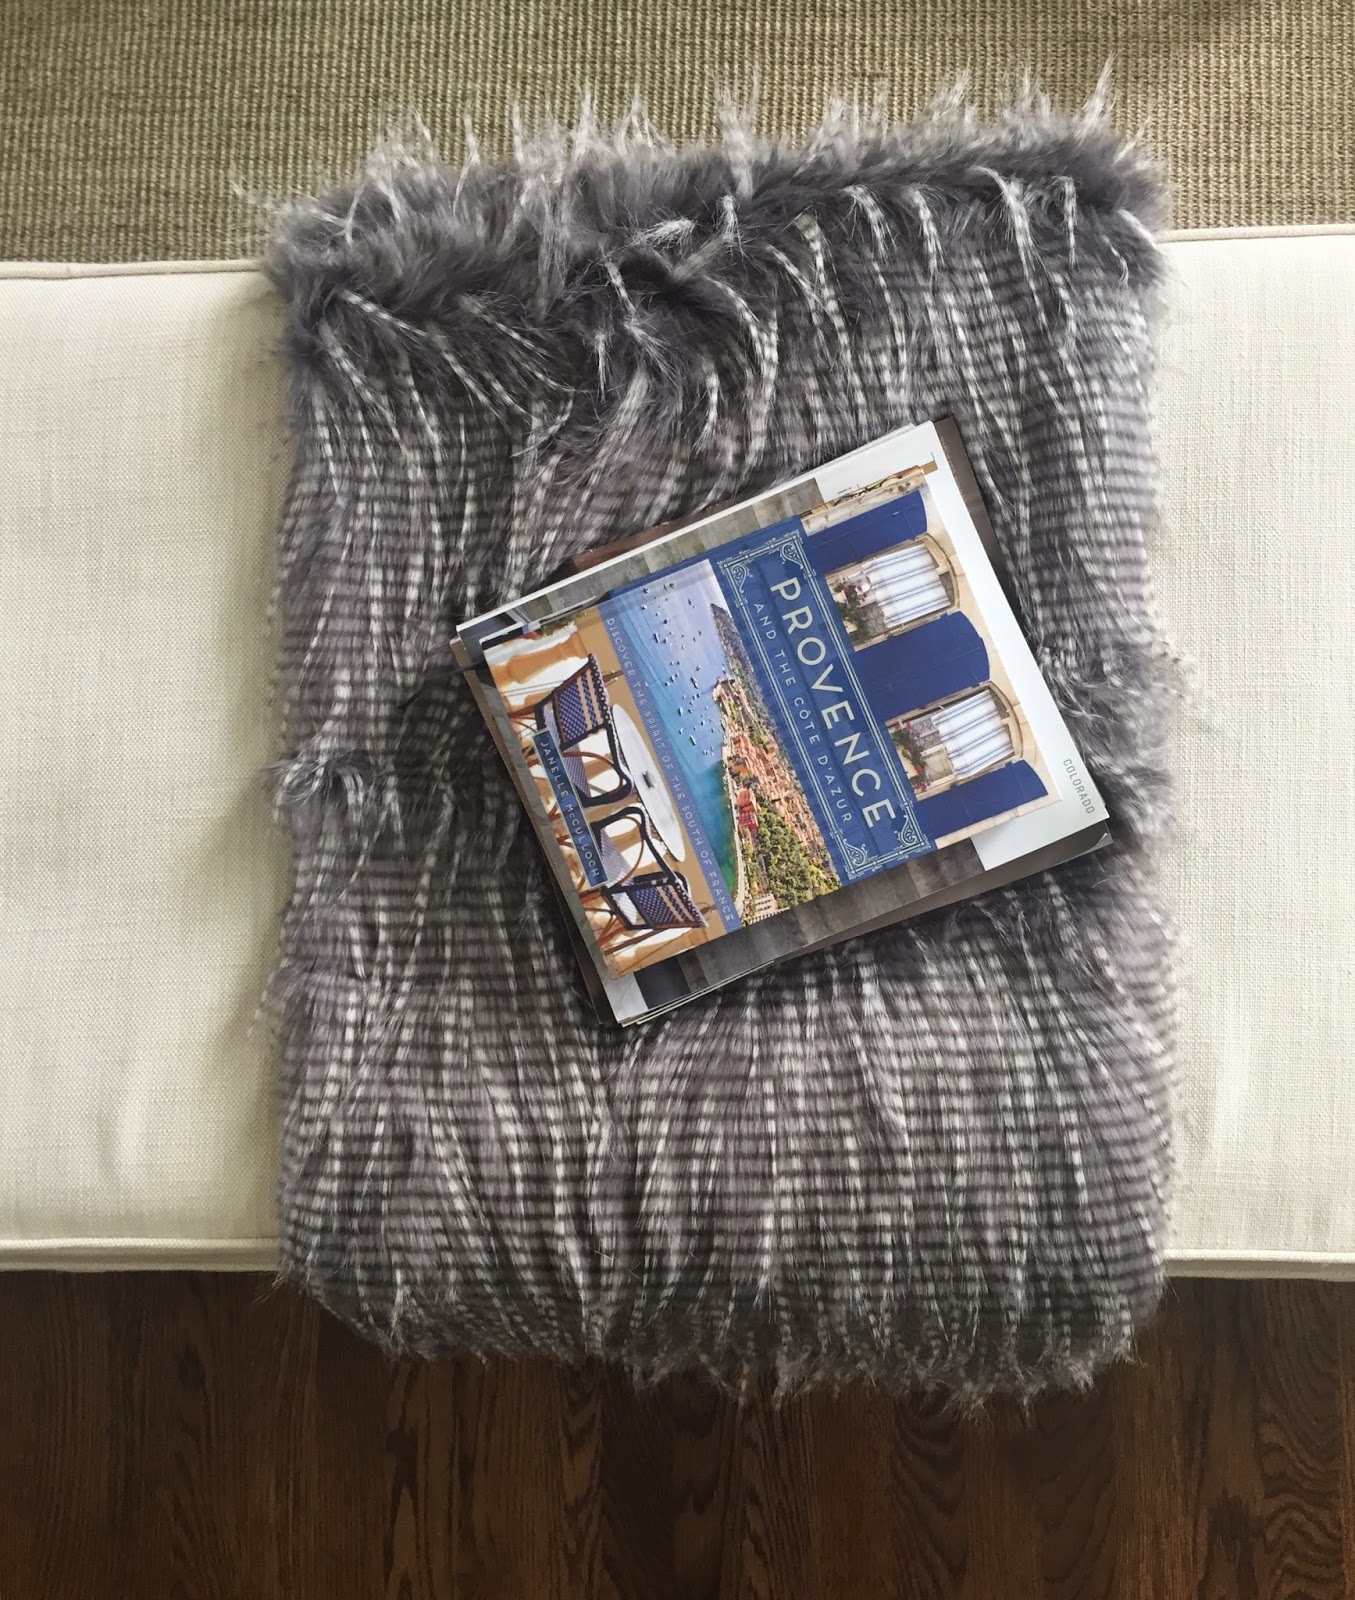
This is her home from my favorite book


I couldn't find the best quality photos, but I literally love everything about it.
xoxo


Tuesday, April 28, 2015

~meet Annie~{and tour her home}

I want you all to see my friend Annie's home. 
Annie and her husband Rusty have one daughter who is 20 and away at college.
Check out their gorgeous rambler that happens to border my parents property, where I grew up.

I remember going to this house when I was little to visit the previous owners who were elderly at that time. Since then it has been totally gutted and doesn't even look like the same house.
I didn't know I was going to be taking pictures when I went over there, so please pardon the camera photos.

When you first walk in the double glass entry doors you see this sunken living room:


The house has a open floor plan for the most part. Here is the informal dining room:


The shelving in the dining room:


A peek into the kitchen to the entry:


Hallway:


The master bedroom:


And finally, the exterior which has a huge perfectly manicured yard:
{you can see my parents garage in the back}


The front of the house.
These pictures from my phone do not do it justice.
They have a huge circular gravel driveway and there is boxwood gardens all around. 


The garage with climbing roses.


I hope you enjoyed the tour!
Thanks to Annie and Rusty for letting me break into their house and take these :)

xoxo


Thursday, March 26, 2015

~thrifty Thursday~{French crate}

Here is how I made this tray for $3.00, and you can too!

I started with this piece of expanded steel. You can buy this at home improvement stores.
I happen to have this in my studio, so I didn't have to buy mine.
Think outside the box here. You don't necessarily need a piece of expanded steel for this project.
Look around for unusual pieces in the right size.
Perhaps plexi glass, grates, old windows, etc.


My piece of expanded metal measured 32" x 19"


You are going to need to pick up 3 1x2's at the hardware store.
These are I believe 8' long and are only 97 cents each.
I purposely picked out the roughest ones I could find because I wanted my crate to look old.
So grab ones that are cracked, rough, and a little beat up.

For my crate 
{you will need to adjust to the size of your insert, meaning metal piece, etc.}
I cut 6 bottom pieces slightly larger than the 19" width.
I cut them at 20 1/2"

Then I cut 4 end pieces at 18 3/4" and 4 side pieces at 34" and finally, 4 short pieces to brace everything together in the corners. These are 5"

Again, you will need to adjust to your own measurements, this will just be a guideline for you.


Next you will need to darken up those pieces of unfinished wood.
You can use a stain, or if you are impatient like me and want a quick dry product, wipe on a little dark wax. I bet you could even use shoe polish. Does anyone still have any of that?


Now it is time to assemble.
I first laid my 6 pieces flat on the ground. This is what your metal will lie on top of.


Place the metal on top and make sure the bottom pieces are straight.
Add the end pieces and the side pieces. I used a air nailer to attach them all together.
If you don't have an air nailer, wood glue and small nails would work.
Note that the sides and end pieces of wood should be sitting on the taller side, not laying down like the bottom pieces.
{sorry, I am horrible at tutorials!}


Here is  a close up of what it should look like at this point.


Next, take the 4 shortest pieces and place them in each corner securing with your nails.


Attach the 2 remaining sides and the 2 remaining ends flush with the top of the shortest pieces.
Notice how one of my pieces of wood is totally broken off and because my measurements were slightly off, the pieces of wood don't meet up?
Yep, I like to call that character :)


Here it is all done!


Oh, and I don't know if you can see it real well, but I used a French stencil to add some wording to the centers of each side, just to really give it that old crate feel.


So, are you going to make one, or have I totally lost you with these directions?

xoxo

Friday, August 1, 2014

~a French breadboard makeover~

My friend gave me this breadboard out of her stash 
because she knows I have a slight breadboard obsession.


This is how it started out, rather orange and shiny.


 First I sanded it down with the grain of the wood using a palm sander. 
Then to tone it down even more I added liming wax.


The liming wax was cool but made it too white, so I mixed a little Annie Sloan clear wax with a tiny bit of dark wax and went over the whole thing.
Perfect.


It's just the perfect color and I couldn't be happier!
I hope to see all you local friends tomorrow at the French Flea Market!

xoxo

Tuesday, September 3, 2013

~Restoration Hardware French Tower Clock Knockoff~

I have always wanted this clock.
But with a price tag of $1195.00, it's definitely out of my budget. Granted, it is 5', but still.....
Here is what the clock looks like on their website.


Here is how I made mine. Maybe you can get some inspiration from this to make one for yourself too!
I started with this clock from Joss and Main.
If you aren't familiar with Joss and Main, you need to be :)
Items are only available for a short time, but the prices are way cheap and the shipping is usually free.


The first thing I did was to take it apart.
Then I painted the whole background white.


While that was drying, I printed out a photo of the clock off the Restoration Hardware site. I then measured the circumference of my clock which was 24". I took the printed paper to Kinkos and enlarged it to 24". When I got home I turned my "metal" piece of the clock over and traced on very lightly where the dividing lines would go.


Then I cut out each roman numeral and scribbled pencil all over the backside of the paper.


Position your "patterns" or roman numerals onto the clock face in between the lines you just traced. Tape on with painters tape and trace over the outline of your roman numerals with ballpoint pen. This will transfer the pencil to the white painted surface. Do this with the lettering as well, then discard all your paper.


Now that the pencil pattern is on your clock face you can use a fine brush and black acrylic paint to fill it in.


The Restoration Hardware clock had dots around the border, so I did those as well using a pencil eraser and the same black paint.


After the black paint is dry, distress it lightly with sandpaper and seal with clear wax. I like Annie Sloan clear wax.

Next came the metal frame. The original looked more grey than my Joss and Main one did, so I gave it a little faux zinc treatment like I did here.

Basically I just dry brushed on 2 colors of paint, dark grey and silver. In this case I used Martha Stewart Arrowhead and Sterling.


After putting it all back together, I realized how tiny the clock hands looked compared to the RH one. So, I used my little pea brain and came up with a idea to make new clock hands.
I headed to the pantry and emptied out a box of nutra grain bars. Then I traced on some larger looking clock hands and cut them out. {I just googled clock hands under images until I found some I liked}


I painted them black and added them to the top of the existing ones with a little glue.

Ready to see the finished product? First, lets take one more look at the $1195.00 version:


And, here is my $47.00 version!
I am so happy to have saved $1148.00!!!


What do you think? Pretty close huh?

xoxo