Showing posts with label pumpkins. Show all posts

Wednesday, September 24, 2014

~free is good~{our new outdoor table}

My friend recently moved and was getting rid of a wood table.
Seeing as how our outdoor table had seem better days, I hauled it home.

It had a big wood top on it that I wasn't crazy about, 
{but am saving for another project!}
  so I took that off and simply added three 8' long pieces of scaffolding wood.

I pushed our old chairs up to it and added different stools to each end
{both of which were free as well, don't you love free?}


I added a row of pumpkins to the top and some twigs for fall.
Tonight it's raining, but I am hoping tomorrow we can eat dinner outside.

xoxo

Friday, September 19, 2014

Friday, October 18, 2013

~roasted spicy pumpkin seeds~{& a winner}

So, Cody had 7 friends over for a pumpkin carving party.
it was a ton of fun and I will share pictures soon.
Besides being left with a giant mess to clean up, I was
also left with a ton of pumpkin seeds!
I love roasting pumpkin seeds and made them a bit
different this year. They were so tasty, I had to share.


Here is the recipe if you'd like to try it for yourself!


And now for the winner of the cuff bracelet.......

Heather from Sweet Number 9!

Thanks to everyone who entered!

xoxo

Tuesday, October 8, 2013

~pumpkin carving sign tutorial~

This DIY is so easy, trust me, anyone can do this!
Here is how you can make this sign:


You will need a piece of wood. I found a large grey weathered piece at a salvage shop this weekend
in the free pile. You will also need letter stickers. I get mine at places like Office Max or Staples.
Clean off your piece of wood so it is free of dust and debris.
Next, pick a saying you want. In this case I chose
PUMPKIN CARVING.
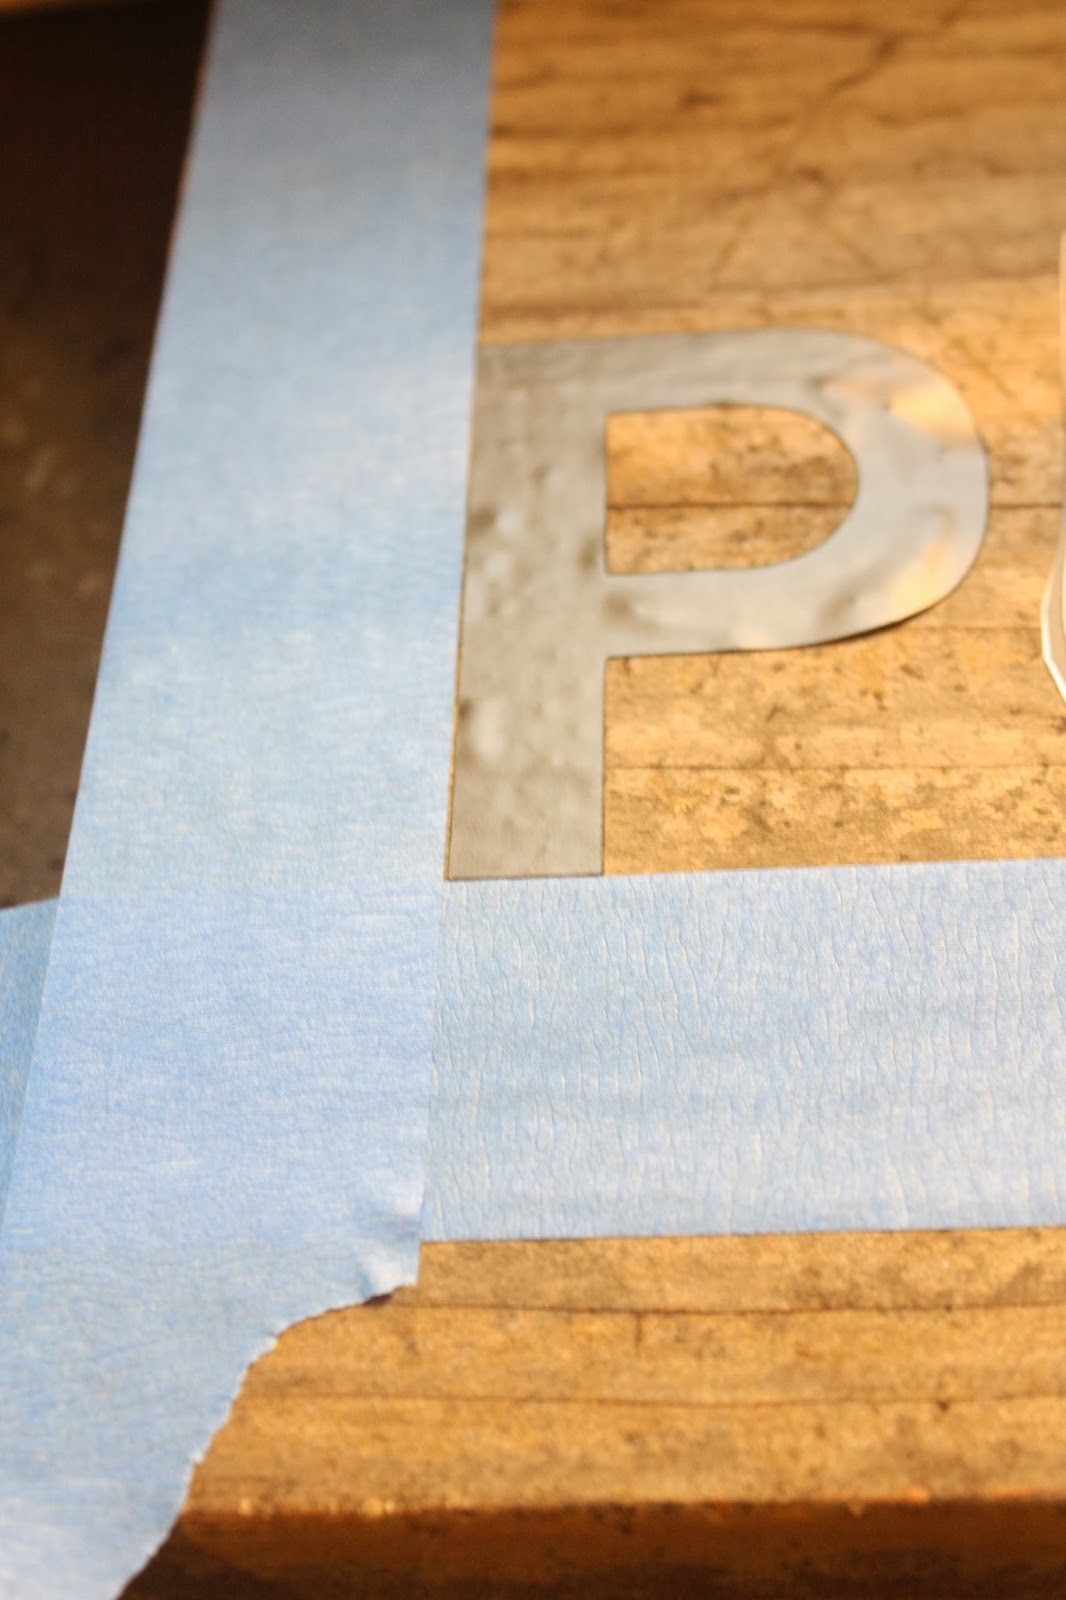
Cut out each letter from the sheets of stickers and position on your wood, but don't stick
them down yet. Right now you are just trying to figure out overall spacing.
It's helpful to use blue painters tape to ensure your letters end up in an even line.


After you have figured out the approximate spacing, you can stick your letters to the piece of wood. As you
can see in the photo, I added a piece of blue tape too either end to get an equal distance.


Press down on the letters to make sure they are sticking really well. Then using a small roller and
any paint leftover from other projects, paint a light coat over the entire piece.
Let dry.


When it's dry, peel off the letters. You will probably have a little paint bleed, but perfection is not the look
we are going for here. Use some sandpaper to rough it up, dust it off, then hang it up or put it on a shelf.


And just for fun, here's a few more dining room pictures:


I just got the slate blue jug from Joss and Main.
The wine barrel server was another DIY, and the instructions can be found here.

Today is also the LAST DAY to save 15% off at Bombay Company on ANYTHING, even clearance merchandise! Enter code SAVANNAH 15 at checkout!


xoxo


Wednesday, September 25, 2013

~dining outdoors on crisp fall evenings~

It's been raining here, raining a lot. But a few days ago
we had one of those perfect fall evenings, where there was a little chill in the air,
but it was still warm enough to sit outside and eat dinner.
So I set the table up with lots of pumpkins,and simple white pumpkin plates
I got at Pottery Barn years ago.


I had log rounds I used as chargers and simple mason jars as glasses. For napkins I used plain
white flour sack towels. I threw a few branches in a clear vase and called it done!


I made the place cards out of card stock and ran them through my printer with an initial. Then I simply cut them and folded them.
Do you enjoy eating outdoors in the fall?

xoxo

Wednesday, September 11, 2013

~DIY chevron pumpkins~ {repost}

I first showed you how to make these chevron pumpkins last year.
It turned out it was one of my most pinned and popular posts!


Since then, Lauren Conrad has blogged about them and Ali Landry pinned them! My oh so tiny claim to fame :)

xoxo