Showing posts with label sweet 16. Show all posts

Thursday, November 13, 2014

~DIY marquee numbers~{thrifty Thursday}

For Savannah's birthday I needed something really large to go over the mantle in the lodge where we had her party.

I decided to do a different take on the star I made here.

I started by printing out my numbers at home.
Then I took them to my local copy center and using their oversized copier, printed them out to be around 3' tall.
The font I used can be downloaded here.


Next, cut out each individual number and tape down to a piece of plywood.


Trace around each number with a ball point pen.


Using a jigsaw, cut out each number and sand any rough edges down.


Then you will need a large drill bit to drill holes for where your light bulbs will go.
You can do this before or after you paint it.


Once it's all painted out and your holes are drilled, set your bulbs aside and begin placing your cords through the holes, stapling as you go. To reinforce mine, I used a bit of strong glue in each hole and then taped it down to dry overnight before putting the bulbs back in.


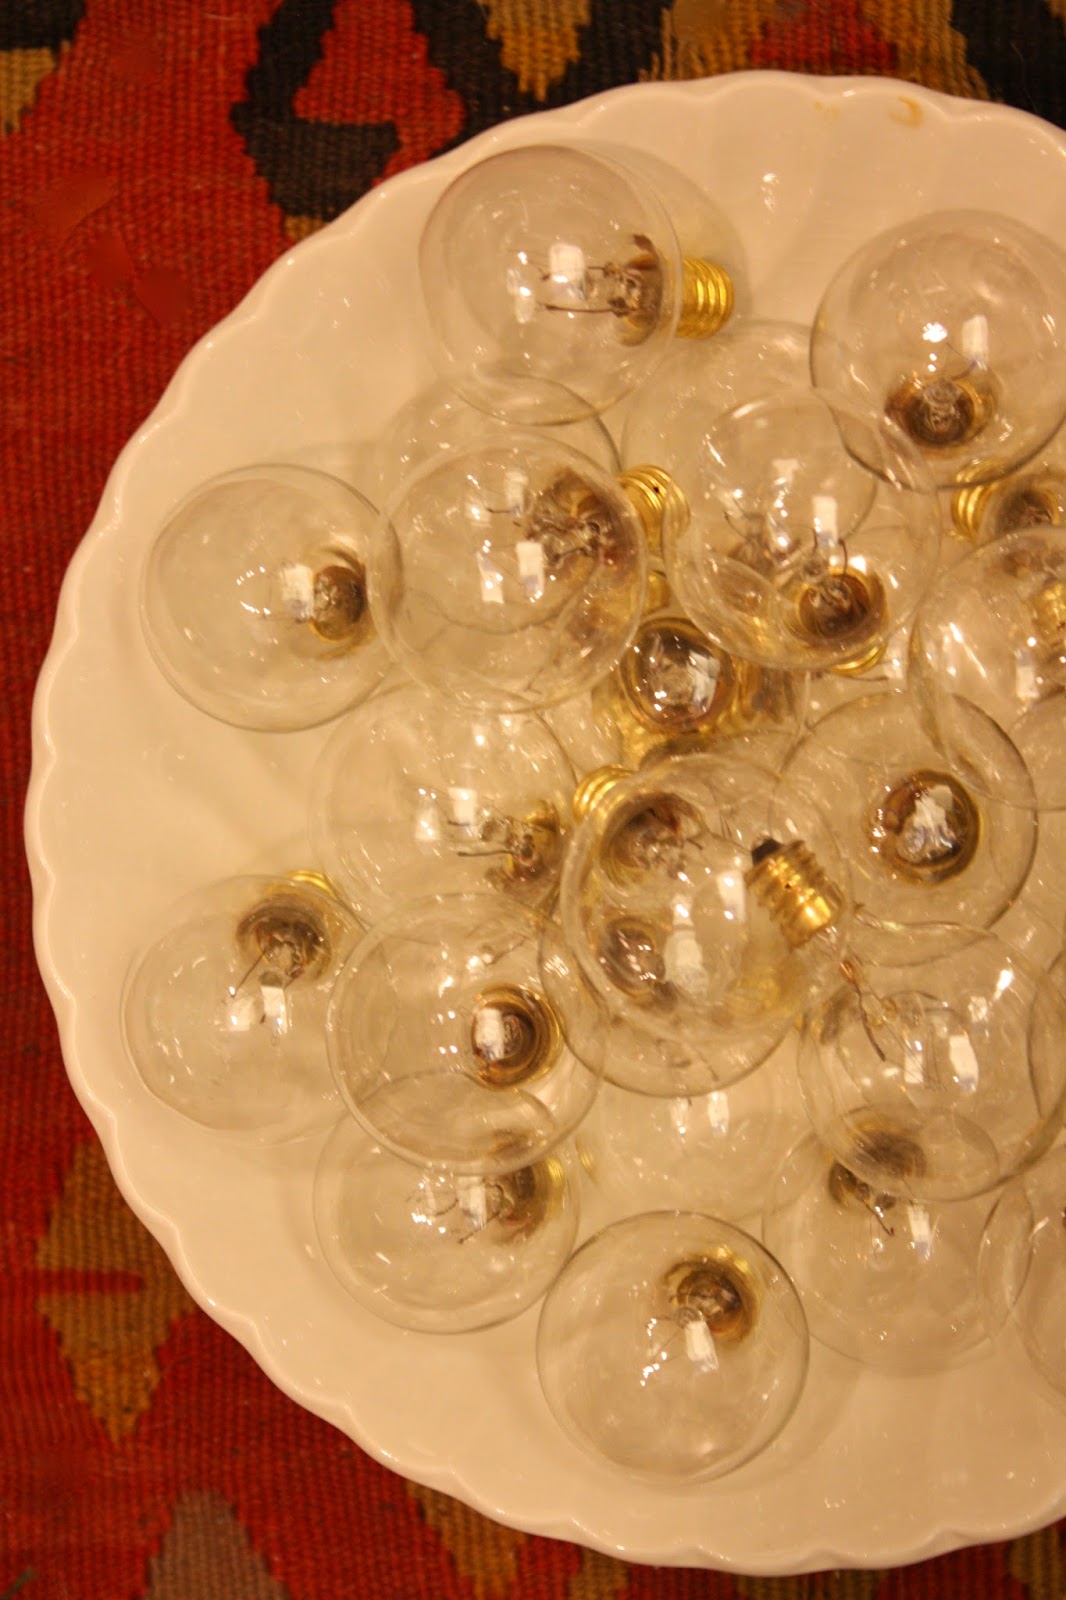
I chose these round white cafe lights I picked up at Target on clearance.

Here it is lit up on the mantle at the party.
It made a huge impact for only around $30.


Last photo from Trimood Photography.
xoxo

Monday, November 10, 2014

~16 candles~


Happy happy birthday to my sweet Savannah!
Party pictures coming soon….

xoxo

Wednesday, October 22, 2014

~diy no smudge chalkboard~

Savannah's 16th birthday is coming up so I am busy making things for it.
One of the things we will be having is a sweets bar, so I wanted to create a chalkboard sign for it that won't smudge.

I started with a plain frame, no glass.
I cut a piece of mdf to fit in the inside and secured it with screws.
Then I painted 2 coats of chalkboard paint on it and let it dry.


Next, you want to season your chalkboard. Do this by rubbing chalk 
over the entire surface, no rhyme or reason.


Once you erase it, your chalkboard will be seasoned and ready for wording.


Print out the appropriate size words in a word document and tape them to your chalkboard.


First you will want to scribble pencil over the backside of the words.


When your words are taped on, use a ballpoint pen to trace around each letter.
The pencil will transfer off onto the chalkboard like below.
Then simply fill in your letters with chalk!


To make sure it doesn't smear, simply spray a coat of this on when you are done.
Make sure it's a matte finish so it's not shiny.


I added a few hand drawn flowers as well.


That's it.
Please keep in mind that this is a permanent chalkboard now and you won't be able to erase it.
If you ever want it to say something else you just simply need to add another coat of chalkboard paint over the top and start again!


xoxo