Showing posts with label flowers. Show all posts

Friday, April 3, 2015

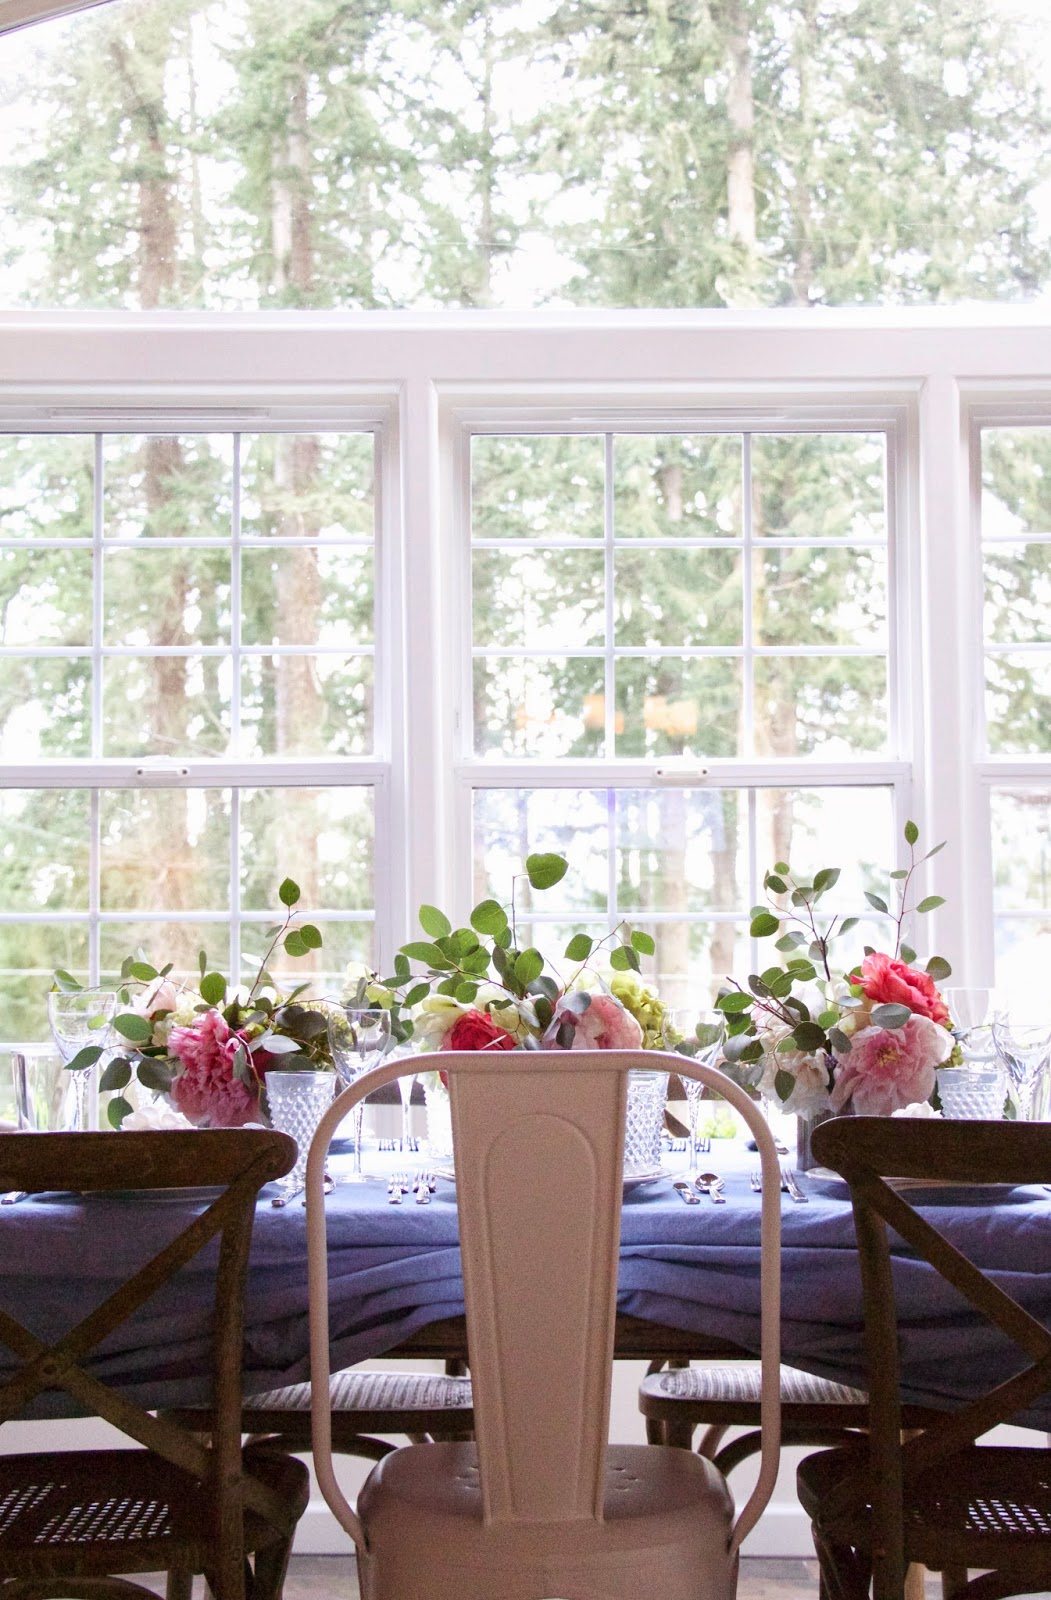
~our Easter table~

I have not set the kids table yet, but for the adults this Easter Sunday……


And if you would like to look at past Easter table settings I have done, click here to see my all white version, and here to see a really cute bunny menu card idea, and here if you prefer a brighter more colorful table.

~Have a great weekend~

xoxo

Tuesday, March 31, 2015

~love your home challenge~

~Hello~


Do you all know Melissa from The Inspired Room? Well, I  was invited to complete a simple Love Your Home Challenge inspired by her new book Love The Home You Have written by her!


This book is fabulous. 
It really hit home for me, everything she shared about her experiences being a homeowner and trying to keep up with the Jones'

If you would like a copy for yourself you can buy one on Amazon here.

This book will teach you how to transform your rooms (and your life) from plainly livable to fabulously lovable.

So, the challenge was, for me {and other fabulous bloggers}
to transform one space from ordinary to extraordinary, in a very simple way.

I chose to do an exterior space. 
After a long winter, everything outside starts to look plain and drab. Not much color, plants have no leaves, and while the sun is starting to show it's face, there is still not a lot of excitement going on.

Our steps leading to our deck were feeling very plain and overlooked.
After sweeping off the stairs and doing a little weeding, I planted a couple vintage olive baskets with fresh flowers.
Just raking the dirt made everything come to life!

I also made a sign out of a old piece of wood I had, using simple letters I painted.
{come back Thursday to see the tutorial and to get details}

A couple hours on a sunny afternoon made all the difference.
This space makes me smile now when I pull up into our driveway.


Go here for the full list of participants.
Have a great day!
xoxo


Thursday, July 31, 2014

~thrifty thursday~{a fairy garden chair}

What happens when one of your beloved Restoration Hardware
 dining chairs seat caning
blows out? 

You cry a little, then you get over it and turn it into garden art.
A fairy garden to be exact.


Start with any chair that has no seat.
At your home improvement center pick up a basket liner that looks like this and that will fit the opening of your chair.


Using a staple gun, staple it in place.


Add potting soil and plant with your favorite flowers.
I used lavender and a ton of succulents.
I think the succulents are perfect for this project.
At this point you can leave it as is, or to turn it into a fairy garden, continue on…..


I wanted to hang a little sign from the chair, so I painted these words on a piece of chippy old wood I had. Hang it from twine for a rustic garden feel.


Now you can start to add in little fairy furniture if you wish.
I added a little wire chair and table, and miniature log fence pieces.
I added a fairy as well but I thought it cheapened the look, so I took her out.


 Tuck the furniture in here and there for a "secret garden" look.
I found all my furniture at a craft store.
I am sure you could look in the kids section at thrift stores and find some great things, or perhaps you have some old dollhouse furniture?


 Make sure you have plants that trail down over the sides, this looks best 
and gives it the look that it's not newly planted.


And that is it!
This will be available for sale at the French Flea Market this Saturday.
Hope to see you there!
xoxo

Friday, June 20, 2014

~cabana stripe planter box~{DIY}

I need a bumper sticker that says,
"Stops for free junk"

Because I do.
I see a free sign and my foot hits that brake so fast.
Remember this table I got for free?

Well, this time it was a pile of wood boxes in all sorts of lengths. 
They had faux grass in them.
{which I scooped up for another project}

Here is what they look like:


I thought this had a good shape for a planter box but wanted to do something besides paint it.
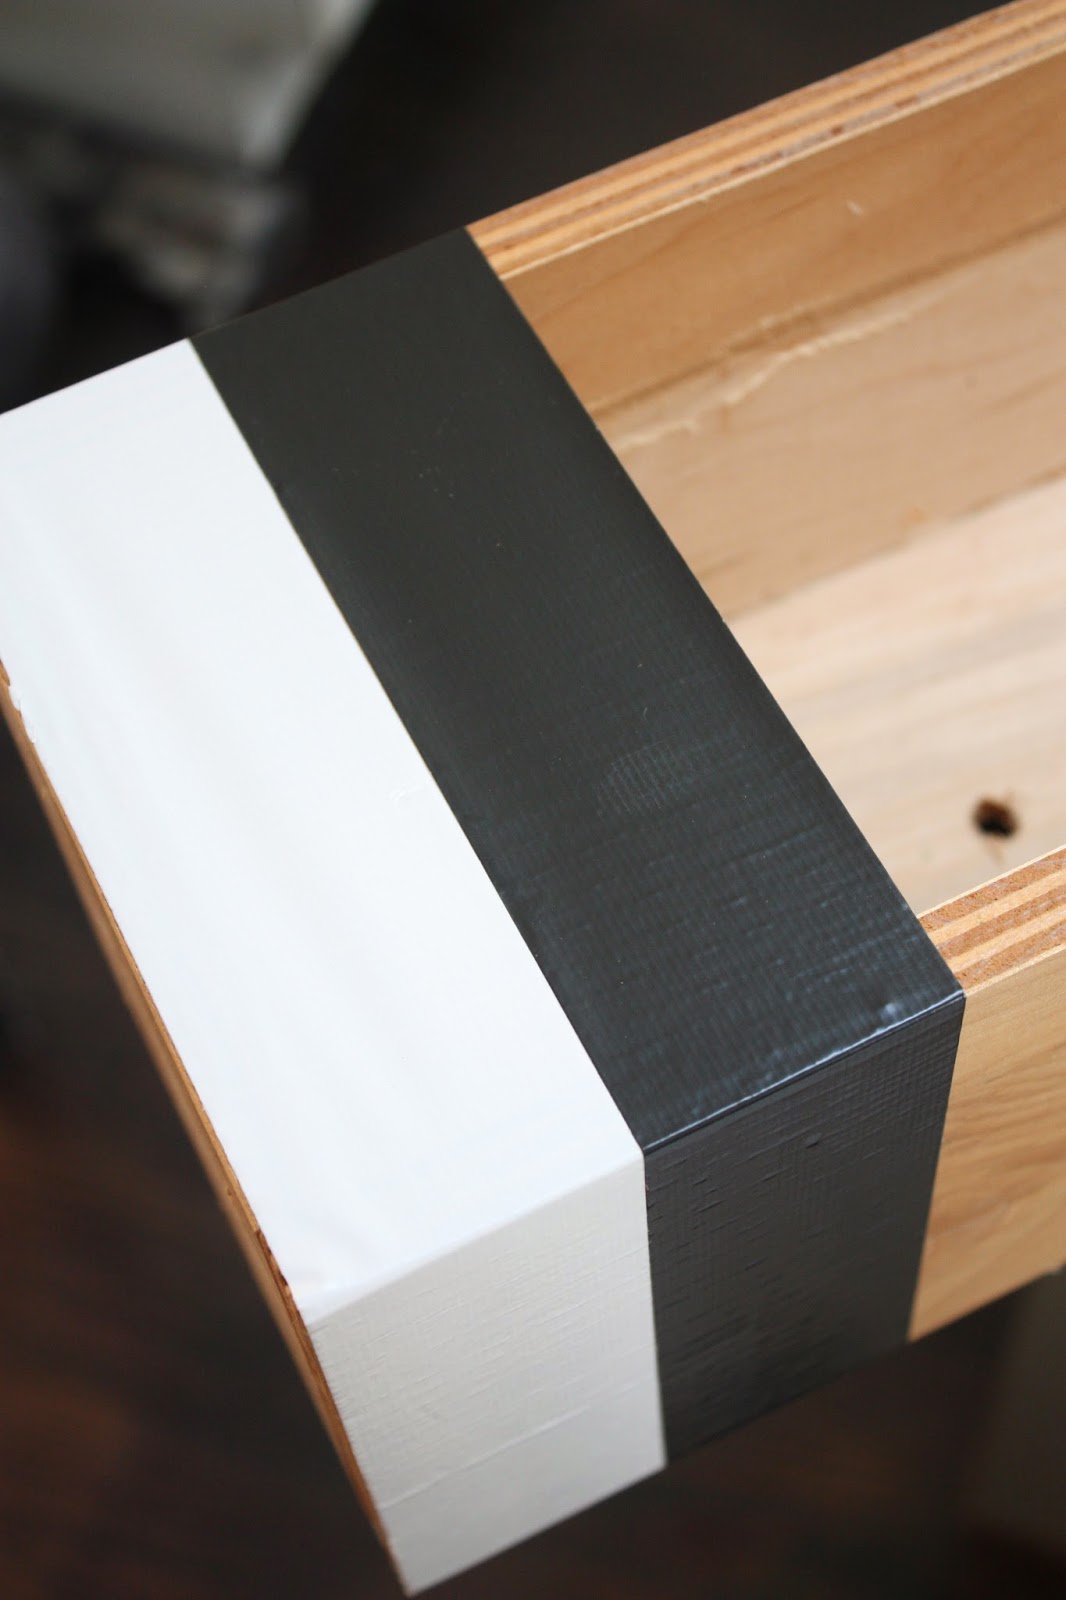
So, I striped it, with duct tape.
Going for the "cabana stripe" look, I alternated black and white tape, up one side, over the top, and down the 3rd side.


About every 4 pieces, I cut down the center and tucked the extra down on the inside.


Here it is all covered in the tape. 


And here it is on our outdoor table all planted up with white geraniums and trailing flowers. 


 Such a simple project.
Now I have about 5 more boxes to go…..


xoxo

Friday, May 30, 2014

~up close & personal~{in the garden}

I do not consider myself a gardener, but I am really enjoying spending time outside lately poking around and doing what I can to make things look pretty.

I walked around yesterday and took a few photos of some of the things popping up.
These photos are mainly close ups, but hopefully I will be taking some all over shots in the near future.


Isn't this time of year magnificent?
Hope you all are having a great Friday!

xoxo

Saturday, August 24, 2013

~an eclectic garden~

Do you wanna take a peek at my neighbors garden?
It's gorgeous and I just have to share.


Thank you Carol for letting me take photos of your beautiful yard and gardens!
xoxo