Showing posts with label sewing. Show all posts

Monday, April 27, 2015

~inspire me diy project~

Dear projects,
You are piling up.
Sometimes I love working with you, other days I just want to sleep and forget all about you.
But then I get on Pinterest, or an idea pops in my head, and the lists get longer.
A promise to myself~I will finish projects I have already started, AND, I will tackle projects that have been on my brain for a while now.
Thank you Kennesha for kicking my booty into gear on this project.

Presenting Inspire Me DIY where 10 of us design bloggers will show you a project we have been neglecting or just wanting to get around to, in hopes to inspire
 you to check things off your to do list as well!


My project was not necessarily a "must do" but more of a "I've been wanting to do it"
project.

I like to switch things out with seasons, shocking I know.
Just coming home from vacationing in Hawaii and seeing all the gorgeous blues of the water and skies,  and all greys and tans of the sand, made me want to bring a little of that into my own home.
I had also been wanting to update my Ikea chair slips that I stenciled numbers on a while back.
So, I went out to my studio and pulled out all the blue and indigo colored fabric I had as well as any old tan grain sack material I had.


Then I went over to my moms to borrow her sewing machine because mine is on the fritz. I explained what I was doing and she pulled out this pair of pants from her sewing pile.
She bought them at a thrift shop for the fabric.
I swear, my mom is way hipper than this!
Not to be confused with hippier…..


The fabric was perfect! I began to cut up random sections of my fabrics and then sew them on.


No real rhyme or reason, but I did want the edges to be frayed so I left them raw.


I love the mix of the old and new fabrics.
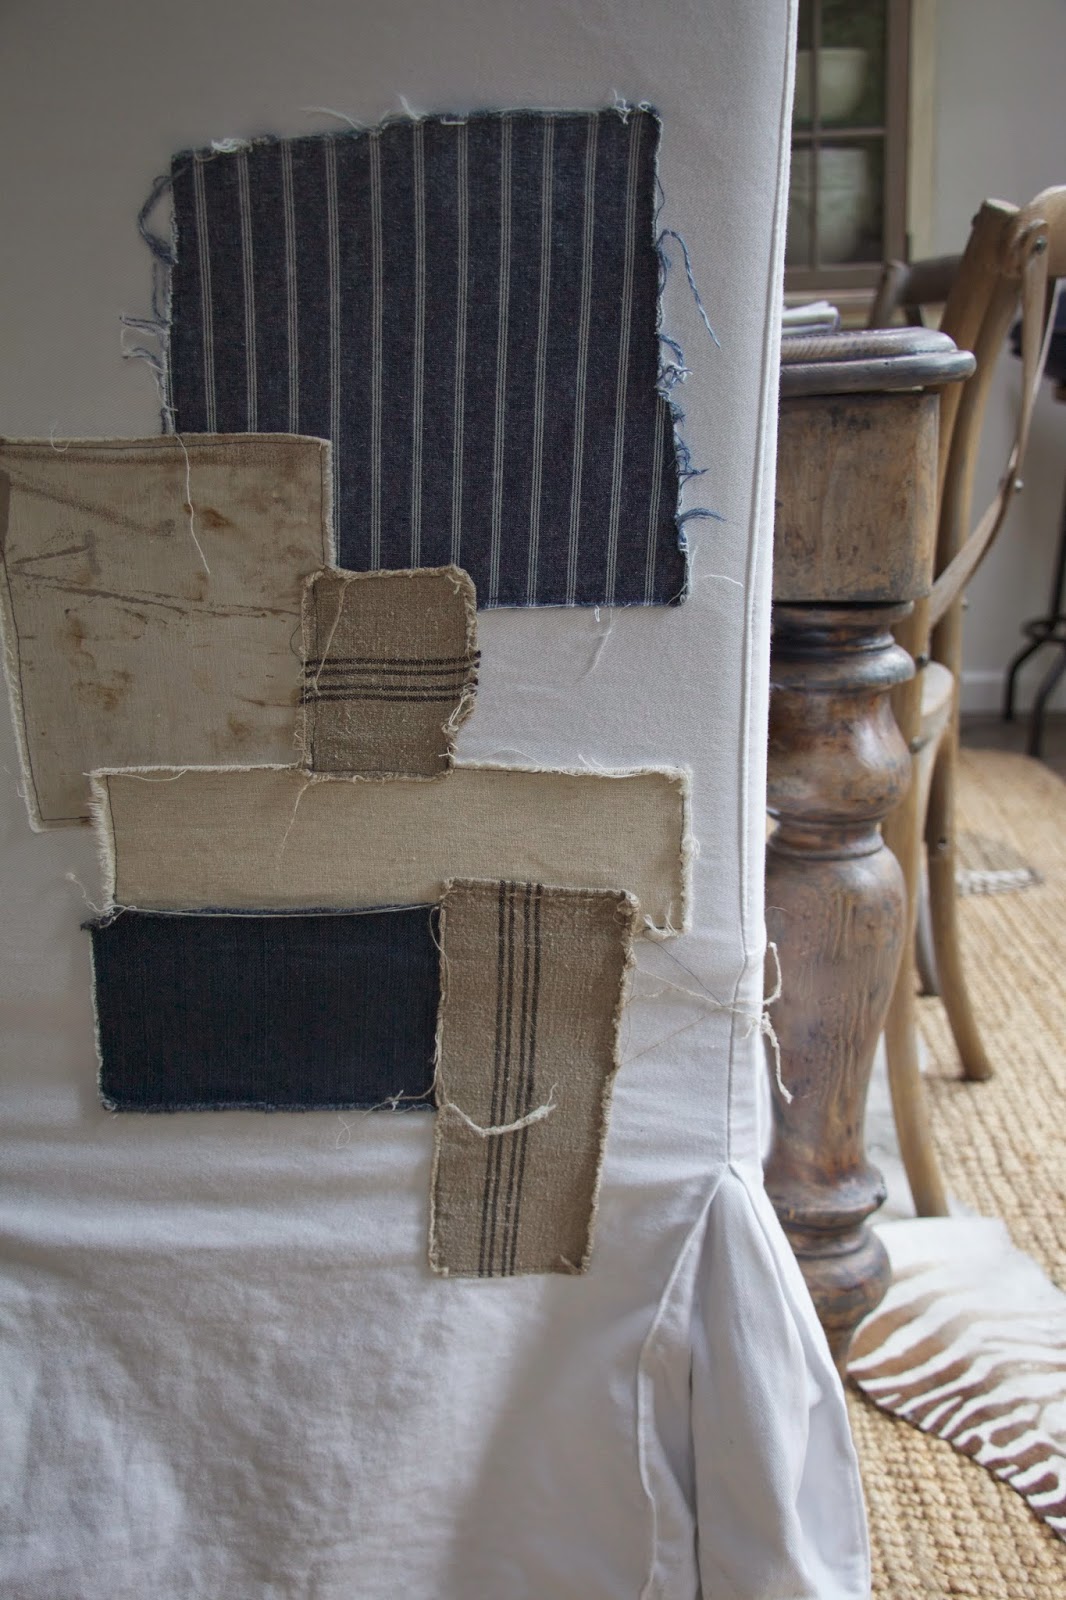

The project took longer than I expected, but  I love how they turned out and I love that this project is now checked off the list!


Can you find the ugly pants in the picture below?
Much better on the chair right?


 This tan material was left over from another project.
It's vintage grain sack and I love the the old original stitching.
The polka dot piece below it is from another pair of jeans.


Are you running to your closet to survey all your jeans right now?
To see what the other bloggers are up too go 
here to view House Seven

here for Restoration House

here for This That And Life

here for Ms Craftburry bush

here for Thoughts From Alice

here for Simple Stylings

here for Through The Front Door

here for Migonis Home

and 

here for City Farmhouse


I hope we have inspired you!
xoxo

Friday, January 23, 2015

~how to sew a simple pillow~

If you can sew a straight line, than you can make this pillow case.

First, cut your piece of fabric 1" bigger than your insert.
My insert is 26" x 26", so I cut it 27" x 27"
Iron it flat. Also, it's a good idea to pre wash your fabric in case the material shrinks.


Next you want to cut 2 pieces for the back flaps.
My first piece measures 27" x 20" and my second piece measures 27" x 14"

Fold over one edge and iron flat for the hem. 
Fold over again and iron that.


Repeat with the other smaller piece.


Once everything is ironed, take the two smaller pieces to the sewing machine and sew the hem.


Place your largest piece right side up on the ground or table.
Lay one back flap on top,right side down, hemmed edge towards the center.
Lay the other piece right side down, hem towards the center and then pin all the way around.
On these larger pillows I also like to put a pin in the center so nothing shifts while sewing.


Sew all four edges, rounding the corners slightly.


Once you have sewn all 4 sides, cut each corner and then turn the whole thing right side out.


I like using feather/down inserts.
For reference, I got my material here.
{you can buy the inserts there too}
Happy Friday!
xoxo

Thursday, July 17, 2014

~thrifty thursday~{sewing w/ammunition bags}

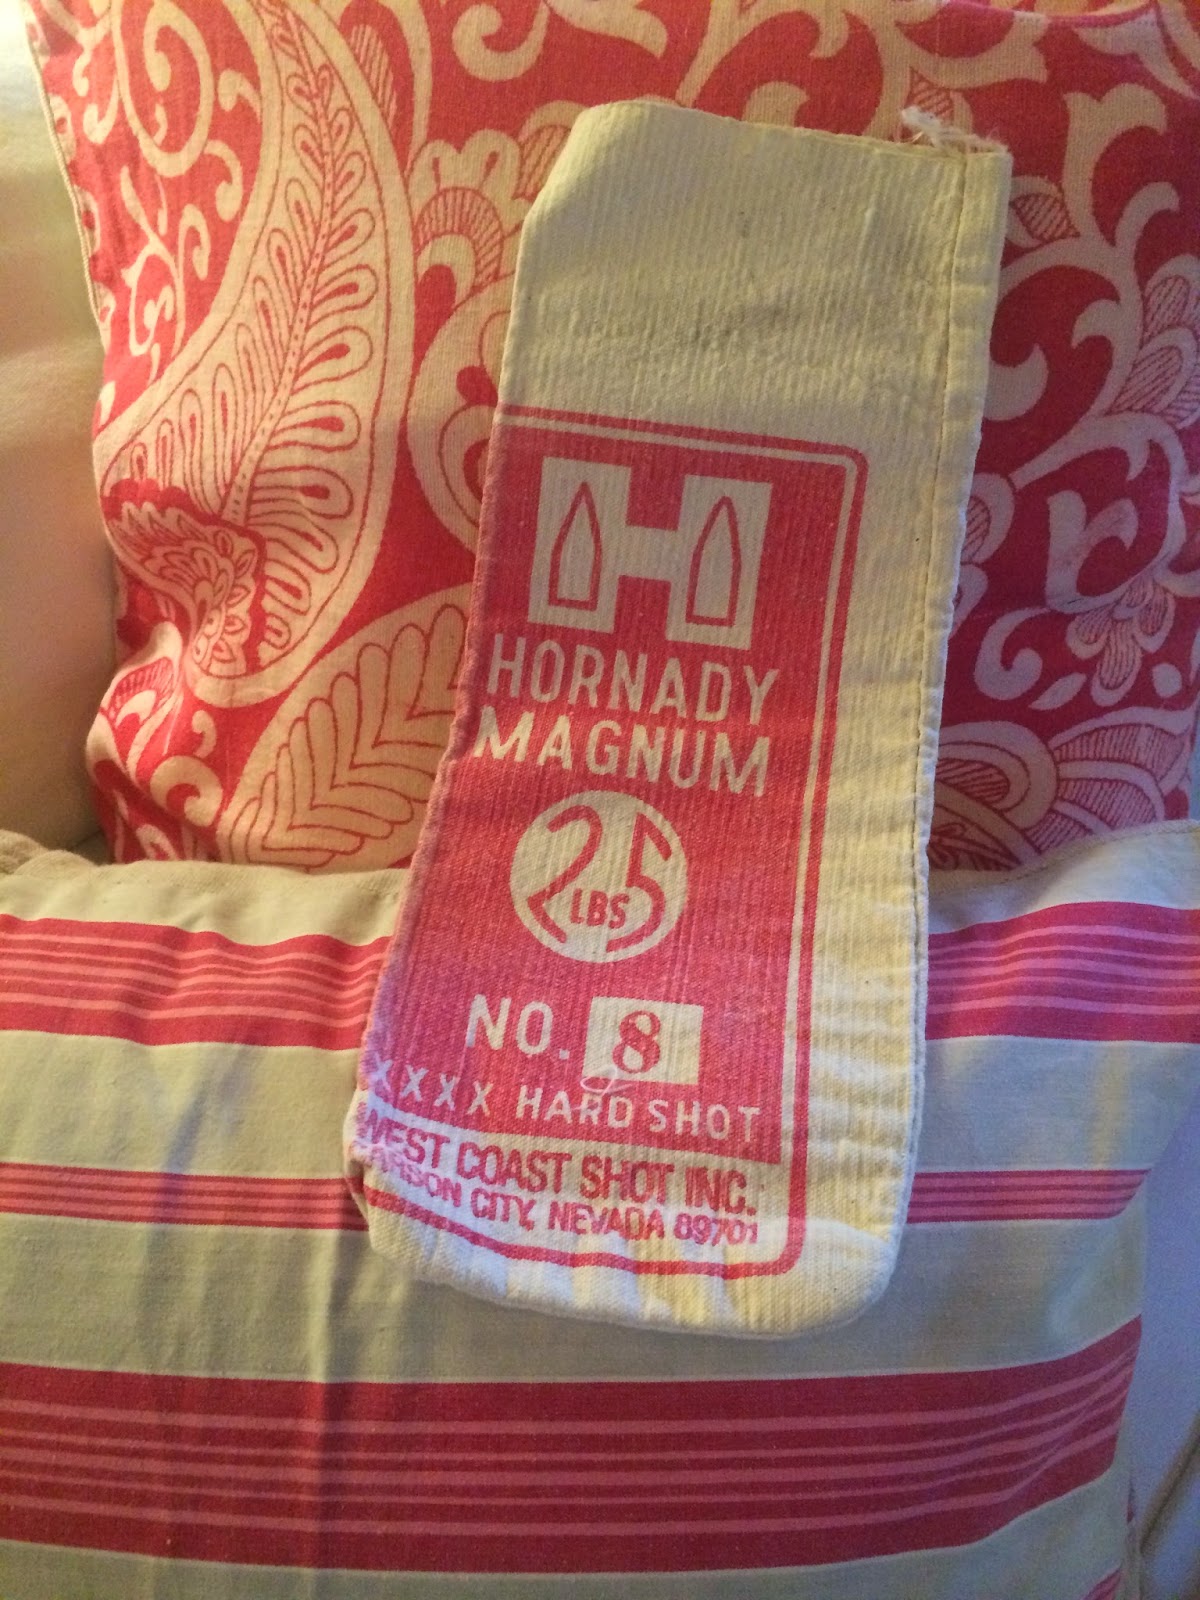
A friend recently gave me this bunch of vintage cloth ammunition bags.


When I got home I realized how perfectly one of them matched my pillows on my couch, so I decided to make a pillow to go with them.
{sorry, bad phone pic}


Here is how to make a simple envelope style pillow cover.

I started with a 18" pillow insert.
I prefer a down/feather blend, but you can use whatever you have.

Measure and cut the front of your pillow allowing for a 1/2" seam allowance.
Since my pillow insert was 18", I cut my fabric at 18 1/2" square.
{I used a drop cloth from Home Depot}


Then I cut off the front of the ammo bag and attached it to the center of my pillow front using a iron and heat n bond. All of these iron on adhesives come with full instructions.


Next you will want to cut the back pieces.
If you use a drop cloth like I am, you can make it so you don't have to do any extra sewing by using the edges that are already finished. 

Cut 2 pieces that will overlap. Mine were approx. 18 1/2" by 12" and 18 1/2" by 10 1/2" 

I didn't get a picture of the next steps, but I sewed the ammo bag around the edges, in about 1/4"

Then position your back pieces onto the front piece, right side to right side and pin all the way around.

Sew all four sides going back and forth over where it will open to ensure it is strong enough.

Turn right side out and wash and dry. Your edges will then fray a bit on the ammo bag.


Add your insert and you are done!


It found it's home on our leather chair in the living room which sits next to our couch. I love how the pillows all compliment each other!


xoxo

Thursday, July 3, 2014

~thrifty thursday~{fabric scrap & lace flag}

On one of my recent trips to the thrift store,
 I picked up this bag of lace trim for $1.99.


And with that bag of lace trim, as well as some red and blue fabric scraps, I created this flag.


I cut out a large red rectangle and a smaller navy blue one.


Then I cut strips of fabric and lace trim to length.
I tied the ends just because I think it gave it a more finished look.
Lastly, I cut some of the lace up to make the "stars"


I used  fabric glue for the "stars" but sewed everything else on.


Super easy wall decor for the 4th!
xoxo

Monday, February 3, 2014

~a thousand hearts~{pillow DIY}


Ok, so maybe not a thousand, more like 38. This pillow diy is super fun and cute for 
Valentine's day! While it is a bit time consuming, I think it's worth it in the end!


Here is what you will need:

-Linen material in 2 colors. I used tan and white. Mine started out in the form of a tablecloth and napkins, so get creative!

-fusible webbing

-tape measure

-pins

-heart template

-pen

-scissors

-good hot iron

-sewing machine

-black and white thread

-feather/down pillow insert

First you are going to print out some heart templates. I found mine by doing a google search of "free heart printable" I made 3 different sized hearts.
Print them out, preferably onto card stock and cut them out. Then you want to iron your fusible webbing onto the fabric you are using for your hearts.
Next, trace the hearts onto your fusible webbing. Cut out all your hearts. I believe I got around 8-9 hearts on one sheet, and I used 4 sheets.


When all your hearts are cut out, you will again want to follow the instructions with your fusible webbing, and iron them onto your pillow fabric front, that you have cut to size.
My pillow is 24x24.


This next step you can skip, but I thought it was kinda cute. I used fabric paint {grey} and alphabet stamps, to spell out xoxo on one of the hearts.


It looks good in my opinion to overlap some of the hearts. One they are all ironed on, you will want to "outline" each heart with black thread. You can do this by hand, or on your machine.


I made my pillow envelope style. You can find instructions for this all over the web
Once I was done, I through the whole thing in the washer and the dryer which gave the edges of the hearts a slightly frayed look.

~And here it is all done and close up~


And for the fun part….

I will be giving away a DURATHON iron to one lucky winner!

This project was the first I used this iron on and I loved it. It heated up quickly, has auto shut off, and a retractable cord.

To be entered to win a Hamilton Beach Durathon iron just pin any of these images to Pinterest with the hashtag #DURATHON.

I will pick a winner on Friday and announce it back here!

Good luck! xoxo

Thursday, August 29, 2013

~thrifty thursday~{sort of}

Well, the project I planned to show you today will not be seen.
That's the bad news.
The good news is that I just got hired on as a contributor
for ReStyle Source and I will be showcasing it there soon!

So, today I want to show you how a old pile of fabric scraps became this gorgeous pouffe:


This project was a collaboration between my vision and my friend Jills talents.
Jill is also the gal who made my monogram pillow shams shown on our master bedroom makeover post.
I'm pretty sure this girl can sew anything, just saying.
So I showed her a picture of a similar pouffe and asked her if she could make one out of drop cloth material, vintage grain sack scraps, and other fabric scraps.
Of course, she rocked it. Not only did she rock it, but she made more. Check out these cuties {mine is on the bottom}


Here it is in it's new home, our living room!


Jill has a wonderful etsy shop here.
And as a contributor, my pouffe, as well as her others are in this issue of Celebrating Everyday Life! Get your digital copy right here for only $3.95.
Every page is gorgeous, you will get so many ideas for fall, I know I did!
There's even instructions on how to make your own pouffe if you are handy with a sewing machine!

So there you have it. Kinda a thrifty Thursday~how to turn fabric scraps into extra seating, only this is this girl is the brains behind this one!

I will be back tomorrow to announce the winners of the 2 giveaways. Have you entered both?
xoxo